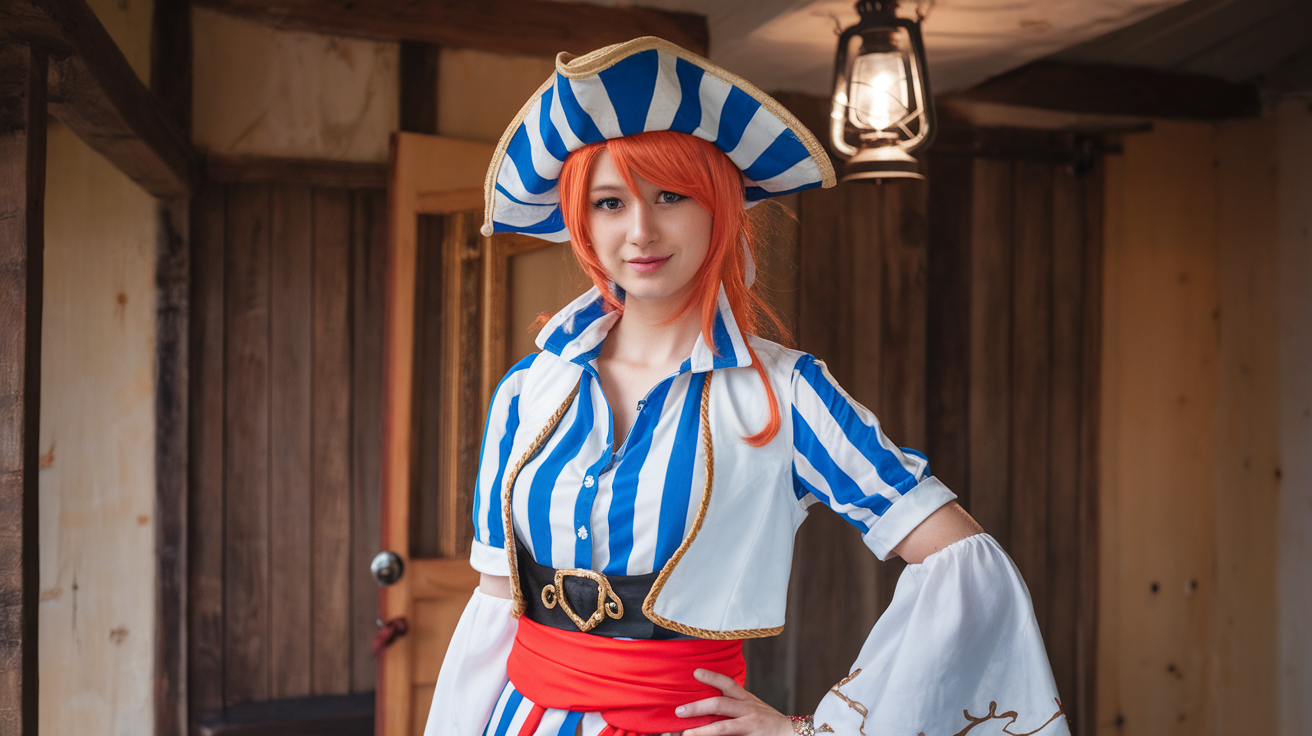
Nami Cosplay: Your Complete Guide to Nailing This Iconic One Piece Look
Nami cosplay has totally taken over my social media feeds lately, and honestly? I get the hype.
There’s something so satisfying about transforming into this fierce navigator with her stunning orange hair and those killer pirate-inspired outfits. Plus, she’s got this perfect mix of tough and stylish that just works for so many different body types and personalities.
I’ve been doing cosplay for about three years now, and Nami was actually one of my first attempts. Let me tell you – I made SO many mistakes that first time. Wrinkled costume, wig that looked like I stuck my finger in an electrical socket, and don’t even get me started on trying to do her makeup without any proper tutorials.
But here’s the thing about Nami cosplay – it’s actually way more forgiving than you’d think. And once you nail the basics, you’ll have a look that works for conventions, Halloween, or just because you’re feeling like channeling some serious navigator energy.
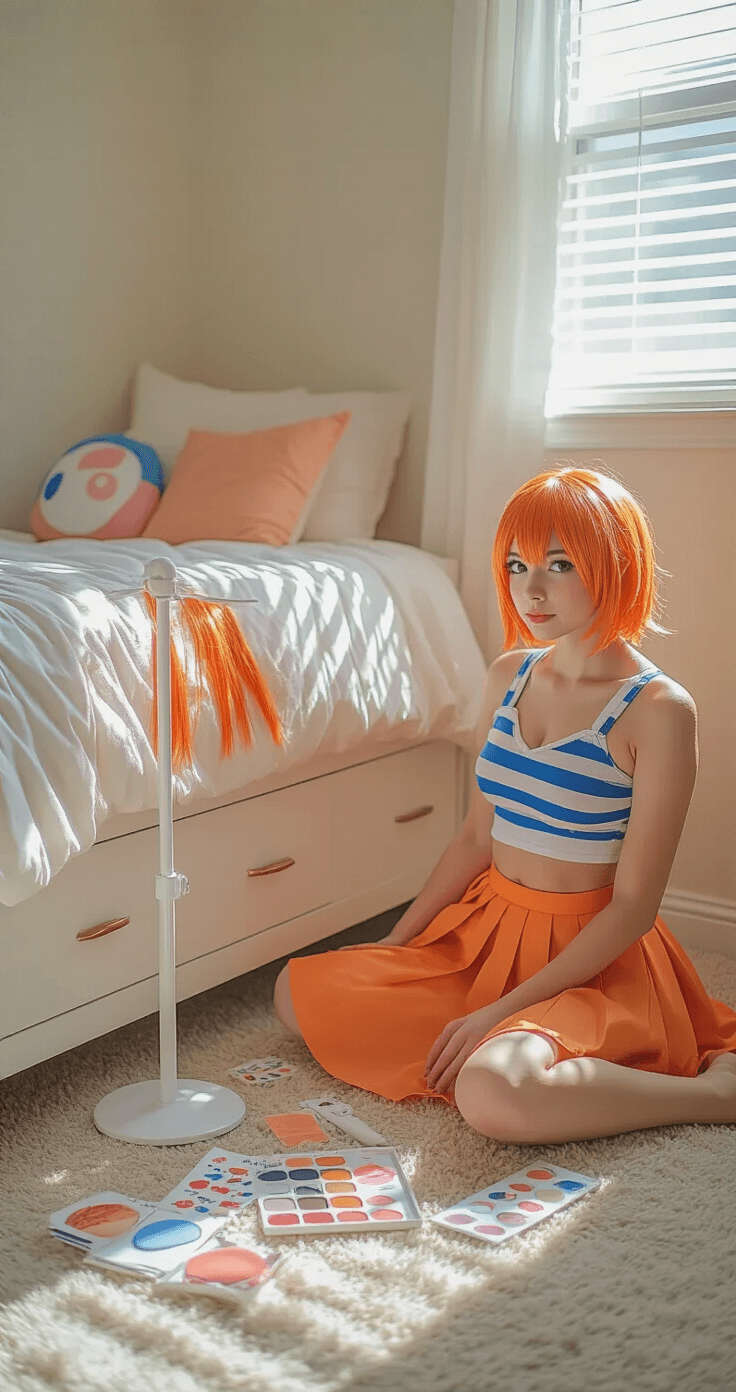
Getting Started: What You Actually Need for Nami Cosplay
Contents
- Getting Started: What You Actually Need for Nami Cosplay
- Budget Breakdown: How Much Does Nami Cosplay Actually Cost?
- Choosing the Right Nami Outfit: Which Version Works for You?
- Wig Styling: Making That Orange Hair Look Amazing
- Makeup and Accessories: The Details That Make It Pop
- Photography Tips: Getting Those Instagram-Worthy Shots
Let me break this down super simply because when I first started, I got overwhelmed by all the “must-have” lists online.
The absolute essentials:
- Nami’s signature outfit (top and bottom – more on this in a sec)
- Orange wig (this is non-negotiable, trust me)
- Basic makeup supplies
- Her character tattoo (temporary stickers work great)
- A belt and some simple jewelry
That’s literally it to start. You don’t need to spend hundreds of dollars or have professional photography equipment.
Time commitment? About 1-2 hours for getting dressed and styled for basic photos. If you’re going full-out with custom props and detailed makeup, maybe 3-4 hours total.
I usually spend my Sunday afternoons doing cosplay shoots, and it’s become this really relaxing routine. Put on some One Piece episodes in the background, take my time with the wig styling, and just enjoy the process.
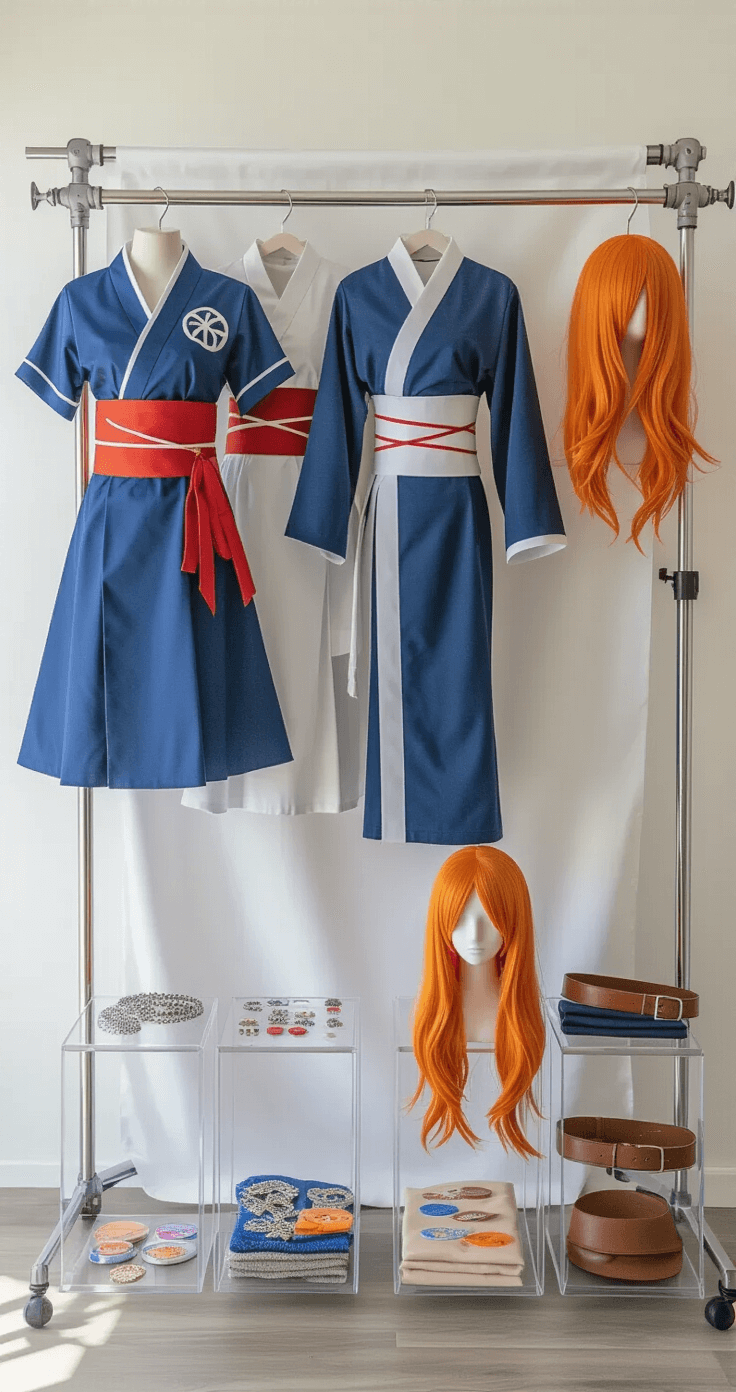
Budget Breakdown: How Much Does Nami Cosplay Actually Cost?
Okay, let’s talk money because this was my biggest concern starting out.
Ready-made costume route: $30-$80
This is what I’d recommend for beginners. You can find decent Nami cosplay costumes on Amazon that include the basic outfit pieces.
Custom/handmade route: $60-$200+
If you’re crafty or want something that fits perfectly, Etsy has amazing options. More expensive but the quality difference is huge.
Accessories and extras: $10-$40
Orange cosplay wigs usually run about $15-25 for decent quality. Temporary tattoos, basic jewelry, and makeup supplies fill out the rest.
Honestly? Start with the budget option. You can always upgrade pieces later once you know you love doing Nami cosplay.
Choosing the Right Nami Outfit: Which Version Works for You?
This is where it gets fun because Nami has had SO many different looks throughout the series.
Classic Nami (my personal favorite):
Blue and white striped shirt or crop top with a short orange skirt. This is the most recognizable version and super flattering on most body types.
Wano Arc Nami:
More traditional Japanese-inspired outfit. Gorgeous but definitely requires more advanced styling skills.
Casual fan art adaptations:
These give you way more creative freedom. I’ve seen people do modern street-wear versions that look incredible.
The key is picking a version that matches your skill level and comfort zone. Don’t feel pressured to go with the most complex design right away.

Wig Styling: Making That Orange Hair Look Amazing
This is probably the make-or-break element of any Nami cosplay. The wig can either make you look absolutely stunning or like you’re wearing a Halloween costume from a gas station.
Wig quality matters:
Spend a little extra here if you can. A $25 wig will look infinitely better than a $10 one. Look for heat-resistant synthetic fibers so you can style with hair styling tools.
Basic styling tips:
- Always brush from the bottom up to avoid tangles
- Use a wig stand (seriously, get one – it makes everything easier)
- Light hairspray helps hold the style
- Don’t over-style – Nami’s hair is pretty natural-looking
I learned this the hard way, but cutting or heavily styling a wig when you’re frustrated never ends well. Take breaks, watch some tutorials, and remember that practice makes perfect.
Makeup and Accessories: The Details That Make It Pop
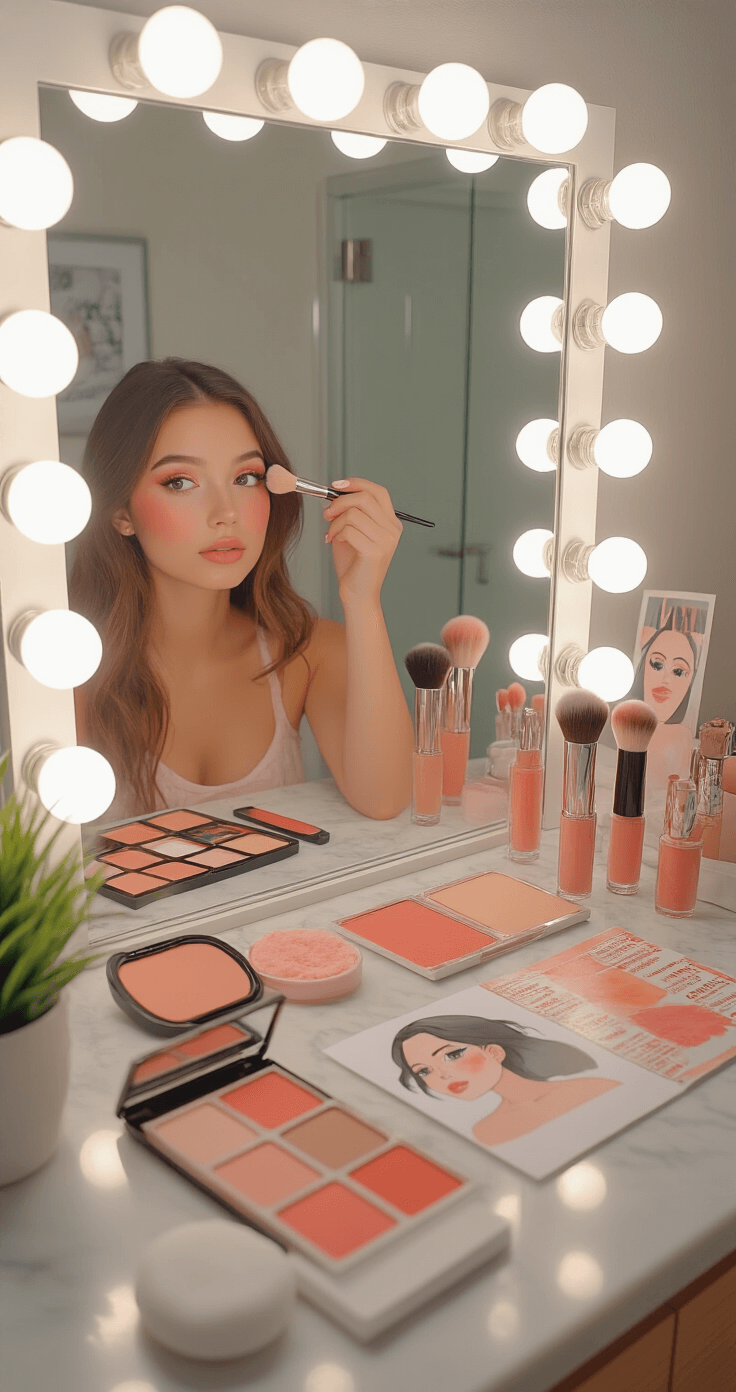
Nami’s makeup is actually pretty simple, which is great news if you’re like me and still figuring out contouring.
Basic makeup approach:
- Natural-looking base (she’s not super glammed up)
- Defined eyes but not overly dramatic
- Peachy or coral lip color
- Maybe some light contouring if you’re feeling ambitious
The tattoo situation:
Her shoulder tattoo is pretty iconic, but don’t stress if you skip it for casual cosplay. Temporary tattoo paper lets you print custom designs if you’re feeling crafty.
Jewelry and accessories:
Keep it simple – some earrings, maybe a bracelet. Nami isn’t dripping in accessories, so less is definitely more here.
Photography Tips: Getting Those Instagram-Worthy Shots
You don’t need fancy equipment, but a few basic techniques will make your photos look way more professional.
Lighting is everything:
Natural light from a big window works great. If you’re shooting outdoors, that golden hour lighting (right before sunset) is chef’s kiss.
Posing ideas:
- Nami’s signature confident stance with hands on hips
- Action poses like she’s navigating or fighting
- Casual shots that show off the whole

