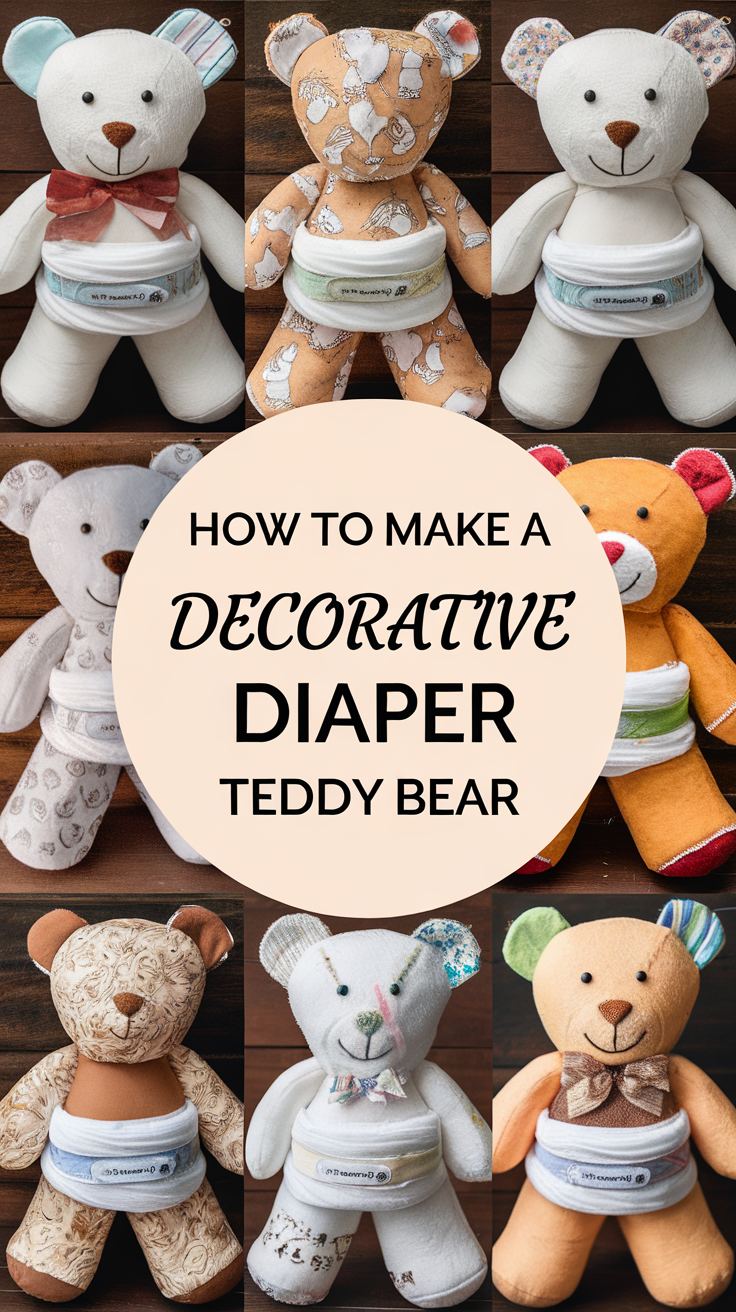
How to Make a Decorative Diaper Teddy Bear
This guide will help you create a diaper teddy bear that resembles the adorable, pastel, segmented bear in your image. The technique uses rolled diapers for a plush, rounded look and decorative ribbons for a charming finish.
Materials Needed
- 62 size 3 diapers (or similar)
- Wide pastel ribbons (pink, blue, yellow, or your choice)
- Rubber bands (large and small)
- Construction paper (for face and paw details)
- Hot glue gun or double-sided tape (for attaching non-diaper parts)
- Pins or tape (to secure ribbons and paper)
- Optional: baby socks, pacifier, bib, or small hat for extra decoration
Step 1: Make the Bear’s Body and Head
Contents
- Body: Lay out 36 diapers so they slightly overlap in a line. Roll them tightly together to form a large “wheel” or cylinder. Secure with a large rubber band. Wrap a wide pastel ribbon around the roll to hide the band and add a decorative touch.
- Head: Repeat the process with 20 diapers to make a slightly smaller wheel for the bear’s head. Secure and decorate with ribbon.
Step 2: Make the Arms, Legs, and Ears
- Arms and Legs: Roll 2 diapers each for the arms and legs. Secure each roll with a rubber band and wrap with ribbon. For the segmented look, use pastel ribbons in different colors for each limb.
- Ears: Roll 2 diapers for the ears. Secure and wrap with ribbon. For extra cuteness, you can slip a baby sock over each ear roll or use a different colored ribbon for contrast.
Step 3: Assemble the Bear
- Stack the head on top of the body and secure them together with a ribbon tied tightly around both sections.
- Attach the arms and legs to the body using pins, double-sided tape, or a dab of hot glue (on the ribbon, not the diapers, to keep them usable).
- Attach the ears to the top sides of the head in the same way.
Step 4: Create the Face and Details
- Eyes and Nose: Cut out circles from black construction paper for eyes and a nose. For extra dimension, you can use wiggly eyes or black pom-poms. Attach with pins or tape1.
- Muzzle: Cut a beige oval from construction paper for the muzzle and draw a smile. Attach below the nose.
- Paws: For the paw pads, cut circles from pink and blue paper and attach to the ends of the arms and legs to mimic the “button” look in your photo.
Step 5: Add Decorative Touches
- Hat: Make a small hat from construction paper or use a baby hat. Decorate with ribbon and a pom-pom on top to match the bear in the image.
- Bows: Tie wide pastel ribbons around the neck and arms for a festive look.
- Extra: Add a pacifier, bib, or small plush toy if desired.
Tips for a Segmented Look
- For the ribbed, segmented effect, use ribbons to wrap around each diaper roll, spacing them evenly.
- Use different pastel ribbons for each section to mimic the multicolored, quilted appearance of the bear in your image.
Safety Note
If you use pins, let the recipient know so they can safely disassemble the bear and use the diapers.
This diaper teddy bear will be a showstopper at any baby shower and a practical, adorable gift for new parents.

