Elsa Birthday cake
Imagine stepping into a winter wonderland where the air sparkles with magic and every bite brings a little extra joy—that’s the feeling an Elsa birthday cake delivers. Perfect for Frozen fans of all ages, these cakes transform any party into an enchanting celebration, blending icy blues, shimmering sugar snowflakes, and beloved characters into a delicious masterpiece. Whether you’re a baking beginner or a dessert pro, creating an Elsa cake is a fun adventure that will leave everyone spellbound.
1. Choosing Your Elsa Cake Design
Contents
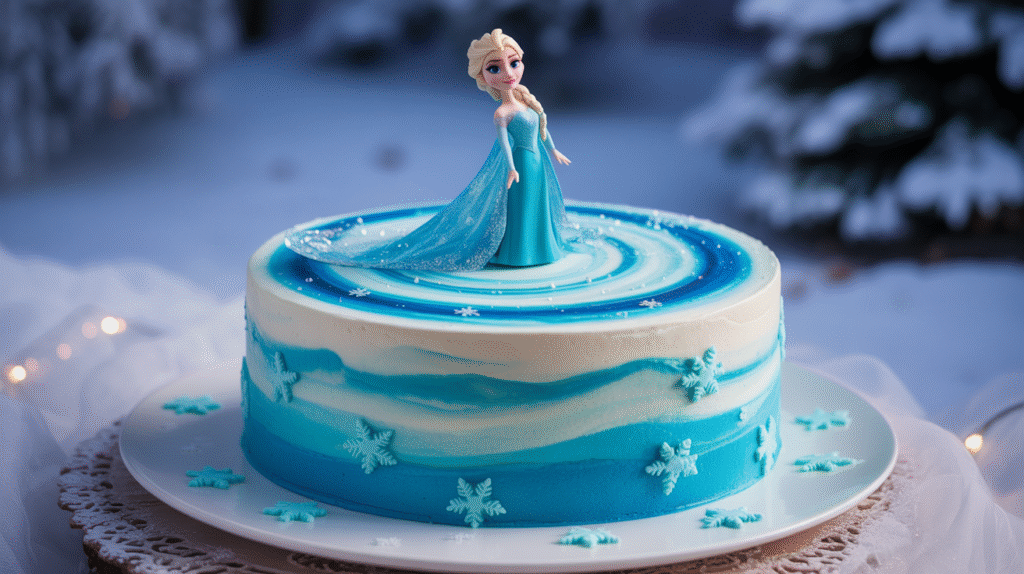
Start your journey by picking a design that captures the spirit of Elsa and the magic of Frozen. Classic choices include a round cake with blue and white buttercream, edible Elsa images, fondant snowflakes, or even a doll cake where Elsa stands tall in the center. For a playful twist, consider miniature Elsa cakes or cupcakes that let every guest have their own magical treat.
Elsa cakes are versatile and can be customized for any age or party theme. You can add glitter, edible pearls, or even a sugar crown to make your creation truly royal.
Step-by-Step:
- Browse inspiration: Look at Pinterest boards or bakery galleries for Elsa cake ideas and decide on your favorite style.
- Pick your size and shape: Choose between a classic round, tiered, or novelty doll cake.
- Select decorations: Decide if you want to use fondant, buttercream, edible images, or a combination.
- Gather supplies: Make a list of cake pans, frosting, food coloring, and any special decorations.
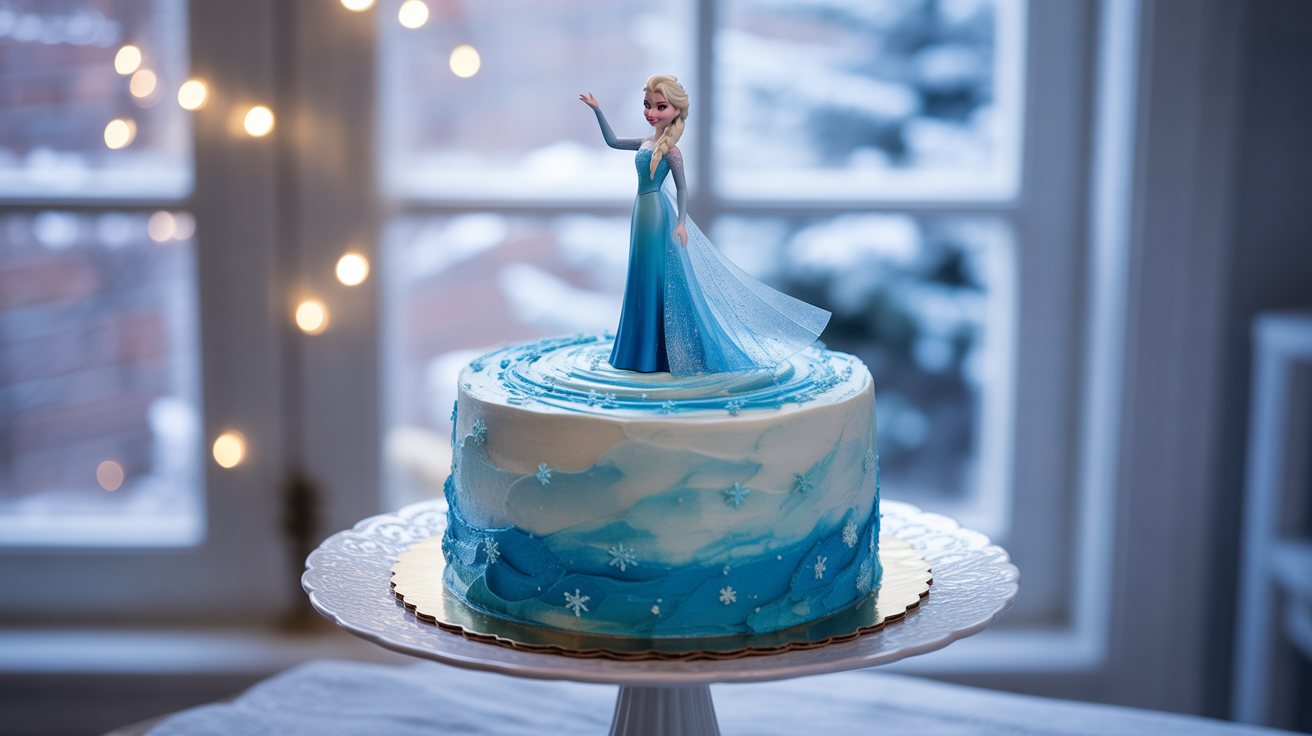
Picture this: A round cake wrapped in swirls of blue and white frosting, topped with delicate snowflakes and a shimmering Elsa figurine, as if she just stepped out of a fairytale castle.
2. Baking and Layering Your Cake
A perfect Elsa cake starts with a moist, flavorful base. Vanilla or chocolate sponge cakes work well, but you can also try fun flavors like blue raspberry or white chocolate for extra magic. Bake your cake layers ahead of time and let them cool completely before assembling.
To ensure your cake stays fresh and delicious, wrap the layers in plastic wrap until you’re ready to decorate. Stack your layers with a thin layer of frosting or filling between each for a professional look and extra flavor.
Step-by-Step:
- Prepare your batter: Mix eggs, milk, sugar, and flour for your chosen cake flavor4.
- Bake the layers: Pour batter into greased pans and bake according to your recipe.
- Cool completely: Let the cakes cool on a wire rack before removing from pans.
- Level the tops: Trim any domed tops for even layers.
- Wrap and chill: Cover with plastic wrap and refrigerate if not assembling right away.
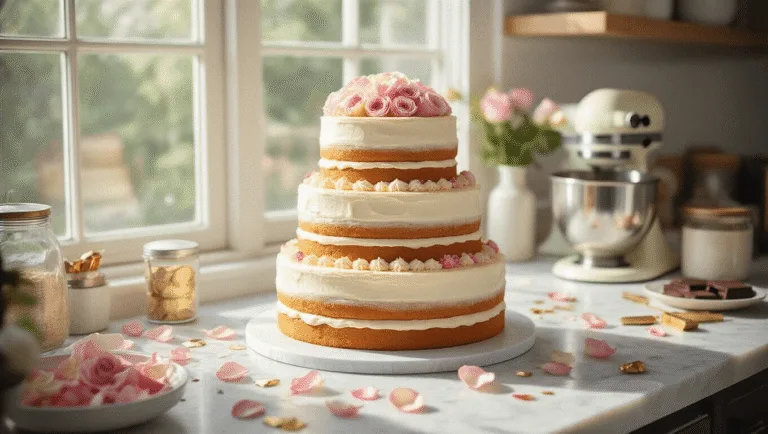
Picture this: Golden cake layers stacked high, waiting to be transformed into a snowy masterpiece, ready to bring a smile to every guest’s face.
3. Frosting and Creating the Winter Wonderland
Now it’s time to bring the magic to life with frosting. Use blue and white buttercream for a classic Elsa look, or try ombre effects for a modern twist. Spread a crumb coat first to lock in crumbs, then apply a final smooth layer. Add texture with swirls or peaks to mimic snow and ice.
For extra sparkle, mix edible glitter into your frosting or sprinkle it on top. You can also pipe delicate snowflakes around the sides or use edible snowflake decorations for a frosty effect.
Step-by-Step:
- Make buttercream: Whip butter, sugar, and vanilla until light and fluffy.
- Color your frosting: Add blue food coloring to part of the buttercream, leaving some white.
- Crumb coat: Spread a thin layer of frosting over the cake and chill.
- Final coat: Apply a thick, smooth layer of frosting.
- Decorate: Use piping tips to add swirls, snowflakes, or ombre effects.
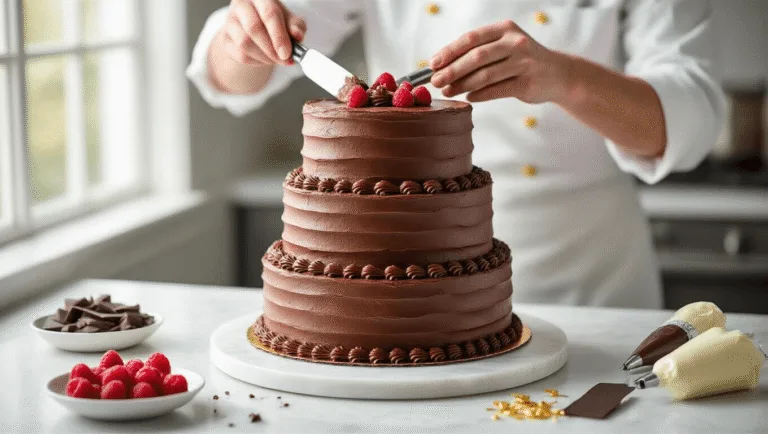
Picture this: A cake shimmering with blue and white frosting, dusted with edible glitter and dotted with delicate snowflakes, as if it’s been kissed by Elsa herself.
4. Adding Elsa and Frozen Details
Personalize your cake with Elsa-themed decorations. Edible images of Elsa and Anna are easy to use and instantly recognizable. For a more hands-on approach, sculpt Elsa’s dress from fondant or use a doll as the centerpiece.
Top your cake with a sugar crown, edible pearls, or even a miniature ice palace made from sugar or fondant. Finish with a “Happy Birthday” message in elegant script for the perfect touch.
Step-by-Step:
- Add edible images: Place pre-printed Elsa or Anna images on top of the cake.
- Sculpt fondant details: Roll out fondant and shape into Elsa’s dress, crown, or snowflakes.
- Place a doll: If making a doll cake, insert a clean Elsa doll into the center.
- Add final touches: Sprinkle edible glitter, pearls, or sugar snowflakes.
Picture this: Elsa standing tall in the center of the cake, her dress flowing into the frosting, surrounded by sparkling snowflakes and a sugar crown, as if she’s ready to perform her next magical act.
5. Displaying and Celebrating Your Elsa Cake
Set the stage for your Elsa cake by creating a winter wonderland table. Use blue and silver tablecloths, sprinkle fake snow, and add Frozen-themed party favors. Place the cake as the centerpiece and watch as guests’ eyes light up with delight.
Take plenty of photos before cutting into your masterpiece—Elsa cakes are as beautiful as they are delicious and deserve to be remembered.
Step-by-Step:
- Decorate your table: Use blue, white, and silver decorations for a wintry feel.
- Set the cake as centerpiece: Place your finished cake on a cake stand for maximum impact.
- Add Frozen-themed touches: Scatter snowflakes, glitter, and small Elsa figurines around the cake.
- Capture the moment: Take photos before serving.
Picture this: A dazzling winter wonderland table with your Elsa cake as the shining centerpiece, surrounded by sparkling snowflakes and glowing faces, ready for a magical celebration.
Creating an Elsa birthday cake is a wonderful way to bring Frozen magic to any party. With a little creativity and these easy steps, you’ll craft a cake that’s as unforgettable as the movie itself. Let it go—and let your imagination run wild!
