The Ultimate Guide to Creating a Spine-Chilling Tomie Cosplay
The Ultimate Guide to Creating a Spine-Chilling Tomie Cosplay
Contents
Hey there, fellow cosplay enthusiasts! I’ve spent years perfecting horror-themed costumes, and today I’m gonna share my complete guide to nailing that iconic Tomie look.
Let’s dive into everything you need to transform yourself into Junji Ito’s immortal beauty.
What You’ll Need
First things first, let’s gather our supplies. Trust me, having everything ready makes the process so much smoother!
Essential Items:
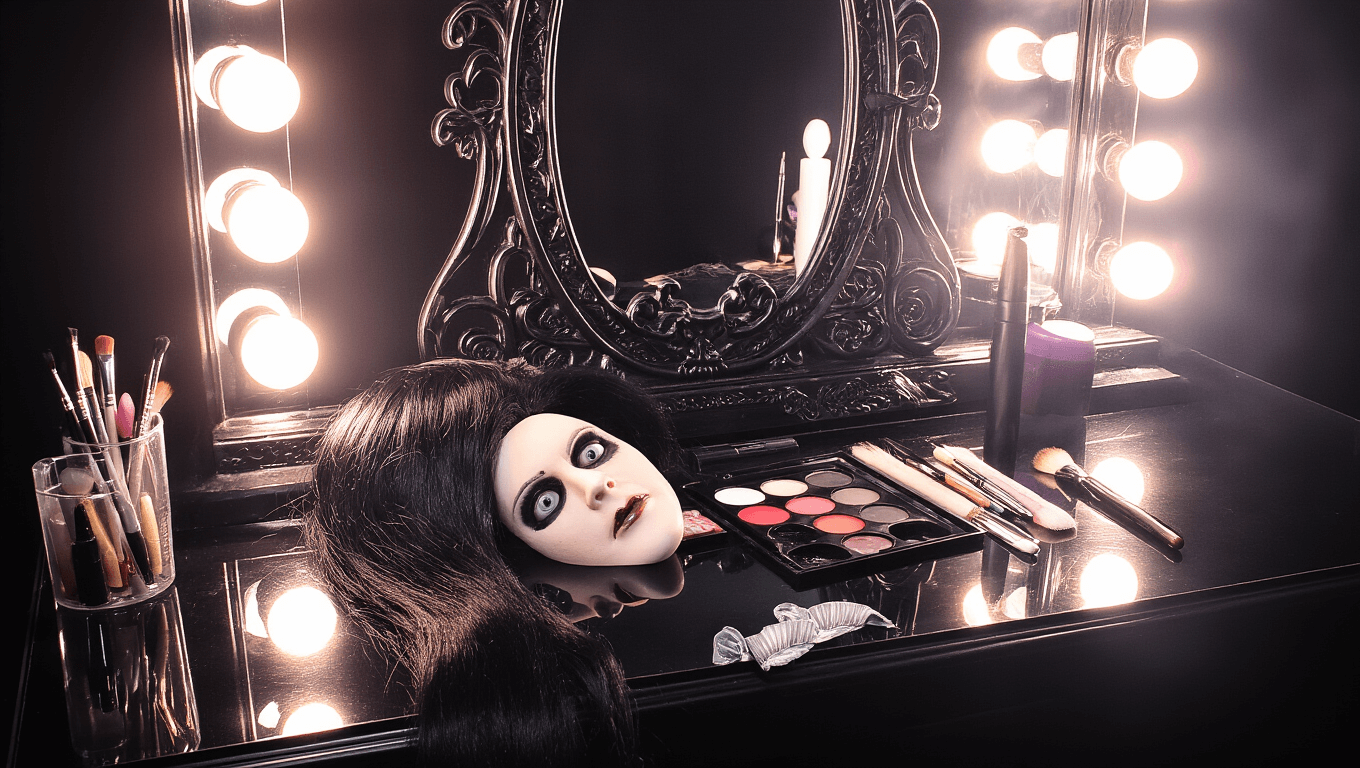
- Long black wig
- White contact lenses
- Black dress (something elegant and form-fitting)
- Special effects makeup kit
- False eyelashes
Creating the Base Look
I learned this the hard way – start with your base makeup before adding any prosthetics.
- Apply your regular foundation
- Contour heavily (Tomie’s got those killer cheekbones)
- Draw on dramatic eyebrows
- Add those falsies (the bigger, the better)
Pro tip: Don’t skip primer! You’ll be wearing this makeup for hours, and you want it to last.
The Signature Prosthetics
This is where things get interesting – and honestly, where I messed up my first few times.
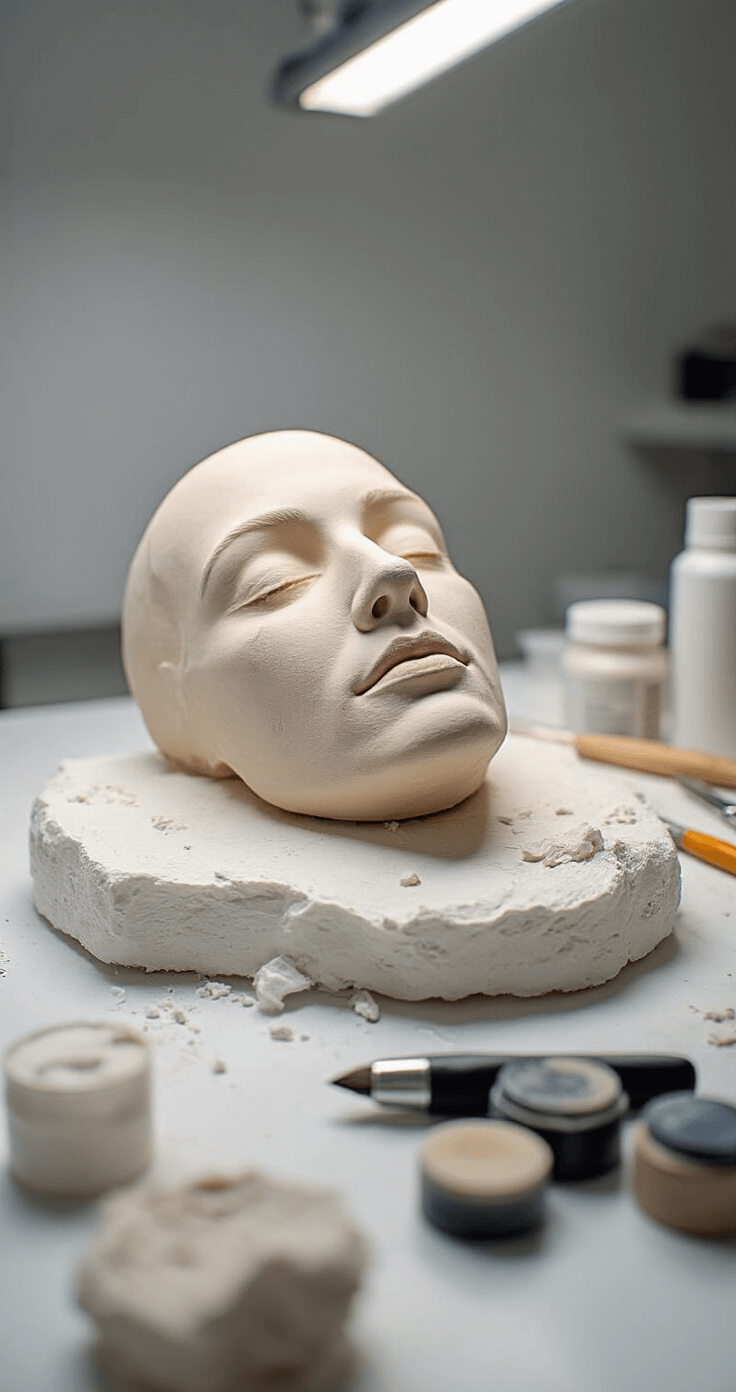
Creating the split face effect:
- Use plaster strips to make a face cast
- Shape with Mod Podge
- Paint with acrylic
- Attach using spirit gum
Sometimes the prosthetic won’t stick right away – keep trying! It took me three attempts my first time.
Perfecting the Details
The devil’s in the details, as they say. Here’s what makes Tomie really come alive:
- Extra-long lashes on one side
- Deep red lipstick
- Strategic fake blood placement
- That signature beauty mark
Photography Tips
You’ve got the look down – now let’s capture it!
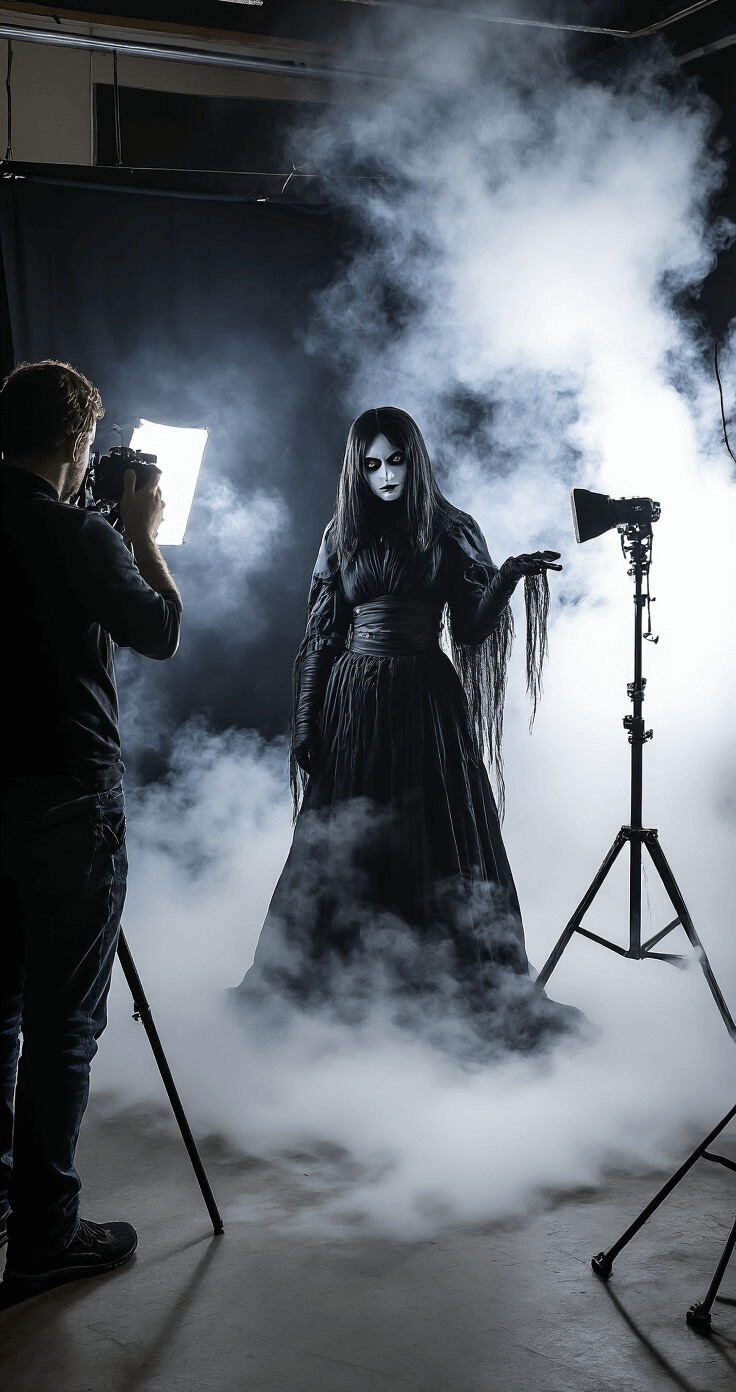
Best practices:
- Shoot in dim lighting
- Use dramatic angles
- Capture both sides of your face
- Play with shadows
I usually set up near a window during golden hour – the lighting is perfect for that eerie vibe.
Common Mistakes to Avoid
Listen, I’ve made ALL these mistakes so you don’t have to:
- Don’t rush the prosthetic application
- Avoid using cheap contact lenses
- Never skip the skin test for new makeup
- Don’t forget to seal your makeup
Taking Your Tomie to Events
Here’s something nobody talks about – wearing this look at conventions.
Tips for lasting power:
- Pack touch-up supplies
- Bring extra spirit gum
- Consider a backup prosthetic
- Keep makeup remover handy
Remember to take breaks! This costume can get intense after a few hours.
Final Thoughts
Creating the perfect Tomie cosplay takes practice, patience, and maybe a few failed attempts. But once you nail it? There’s nothing quite like seeing people’s reactions to your transformation.
Got questions about any part of the process? Drop ’em in the comments below – I’m always happy to help fellow cosplayers level up their game!
Just remember – stay safe with the contacts and prosthetics, and have fun bringing this iconic character to life!
This article contains affiliate links. If you click through and make a purchase, I earn a small commission at no extra cost to you.

