Creating a Raven Teen Titans Cosplay (That Actually Looks Amazing!)
Hey there, fellow cosplay enthusiasts!
Contents
I’ve been creating character costumes for years, and let me tell you – Raven from Teen Titans is one of my absolute favorites to help people bring to life. Today, I’m gonna walk you through everything you need to know to create this iconic look.
Getting Started: The Basics
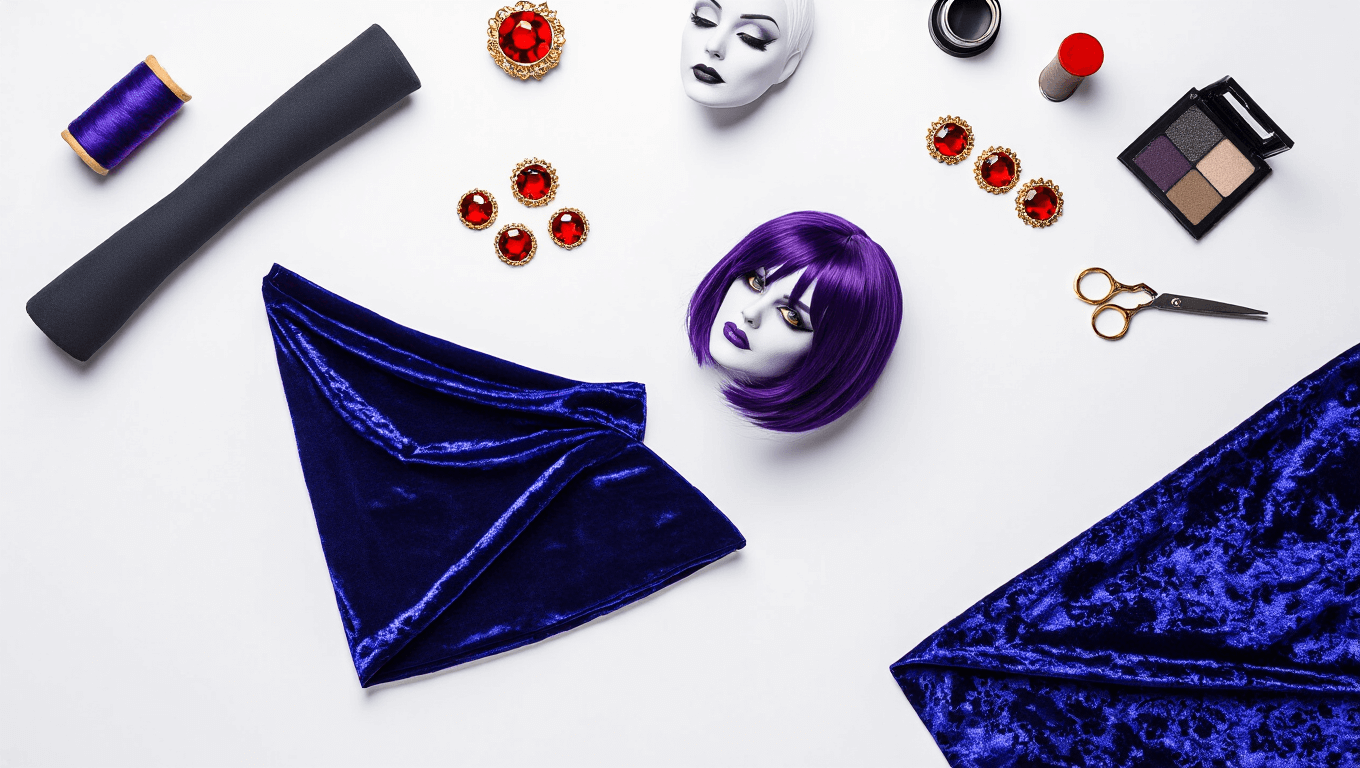
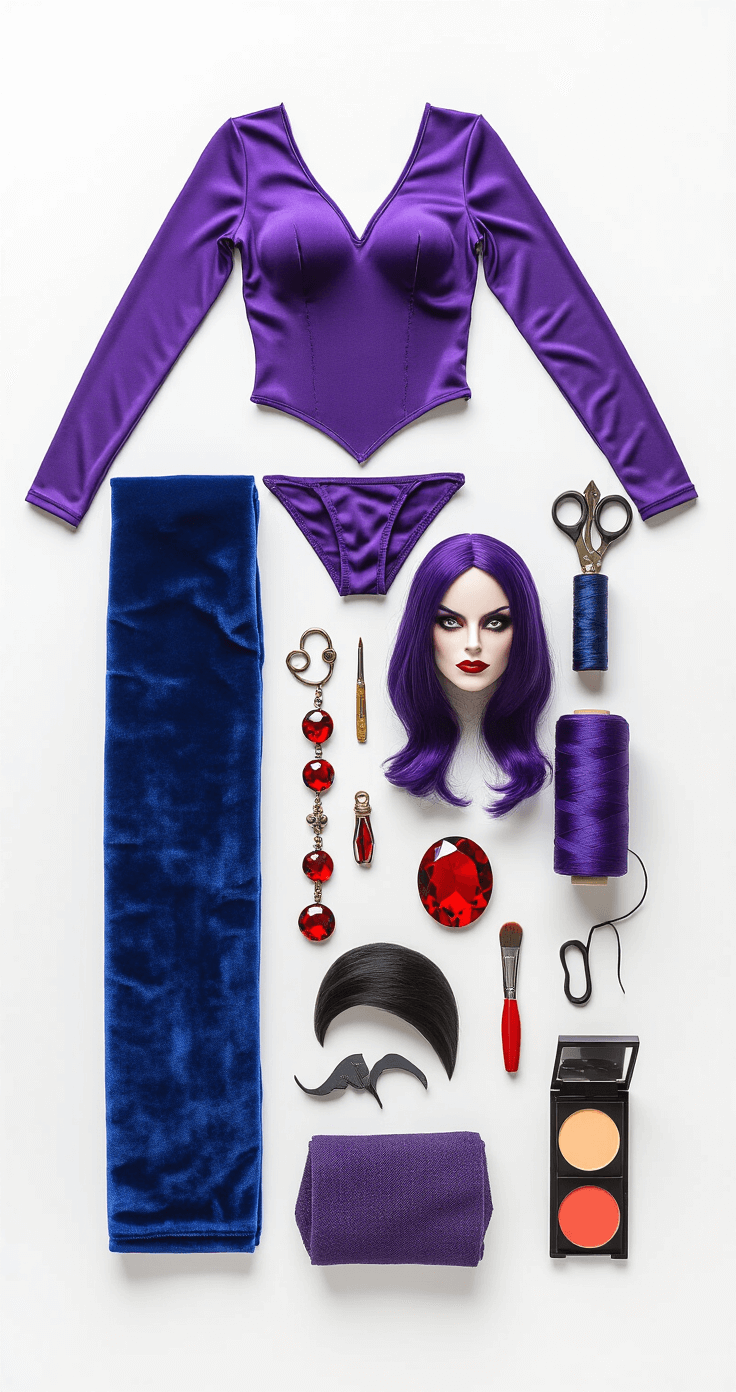
First things first – let’s talk about what you’ll need. The core of Raven’s costume is pretty straightforward (which is why I love recommending it to beginners!). Here’s your shopping list:
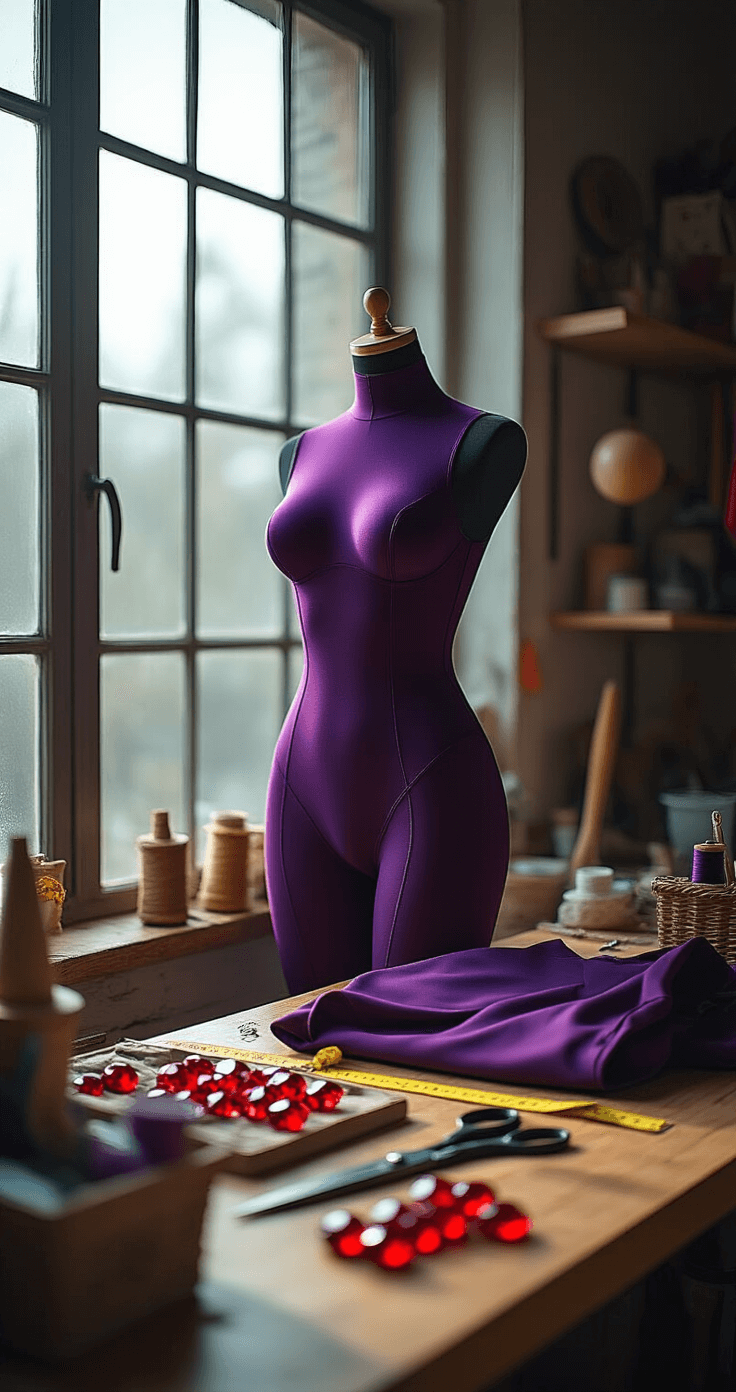
- Dark Purple Bodysuit – This is your foundation piece
- Blue Crushed Velvet Fabric for the cape
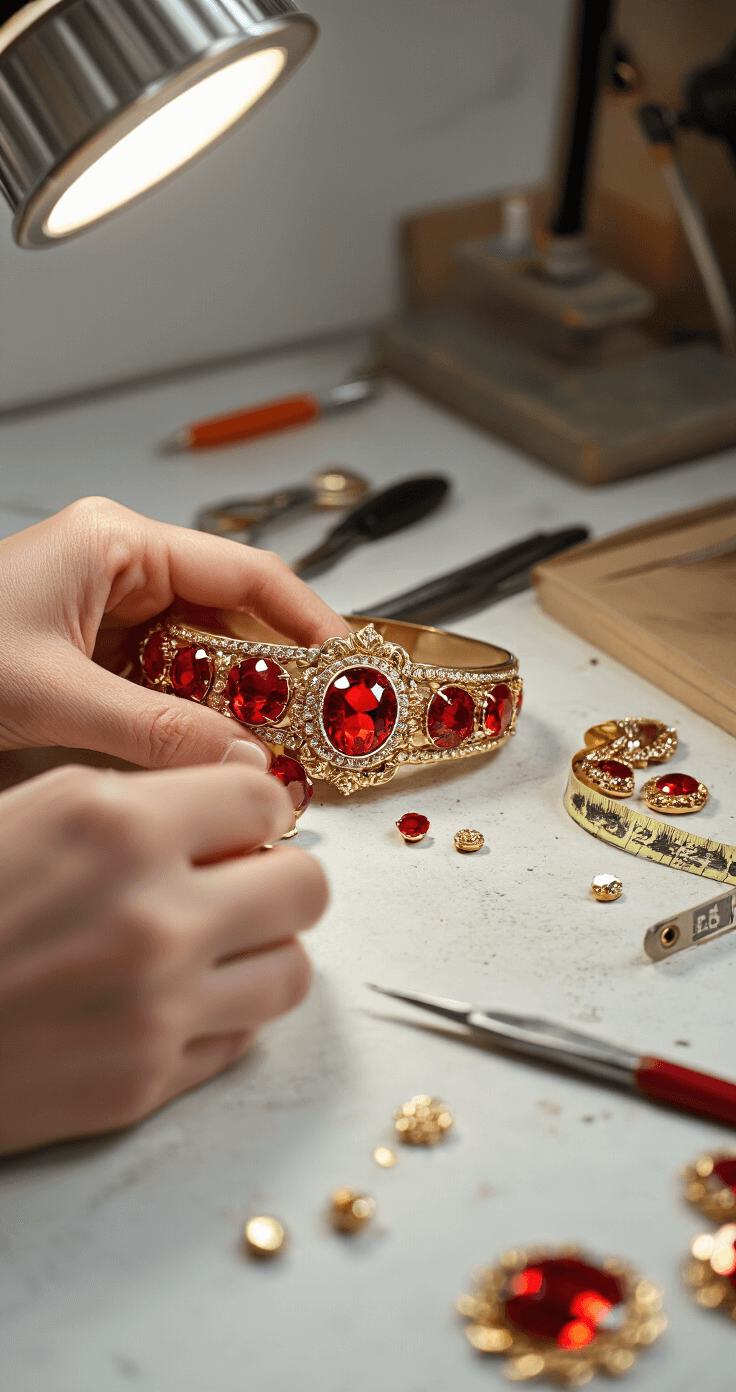
- Red gems for the belt and hands
- Basic sewing supplies
The Bodysuit: Your Foundation Piece
Listen, getting the right bodysuit is crucial. You want something that’s:
- Slightly shiny
- Super comfortable (trust me, you’ll thank me later)
- Stretchy enough to move in
Pro tip: If you’re new to sewing, start with a pre-made bodysuit and modify it. Way easier than making one from scratch!
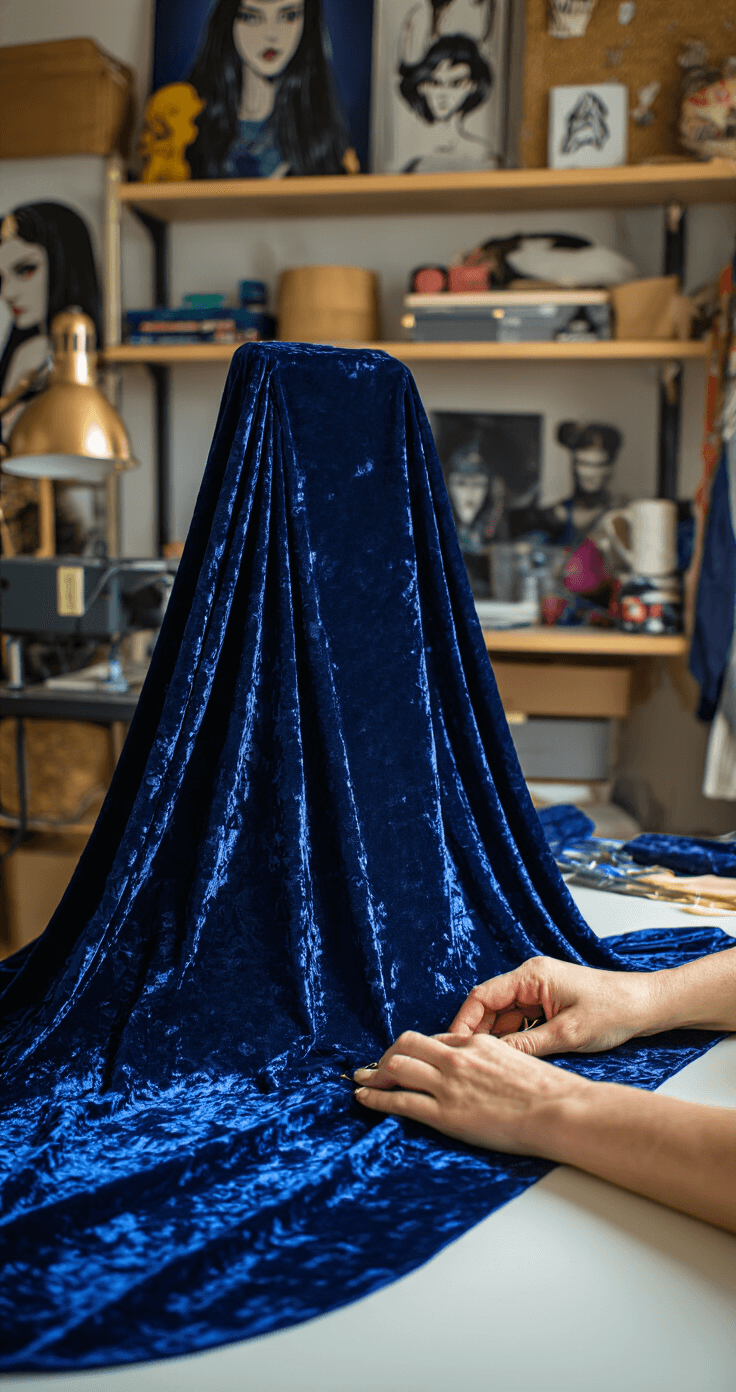
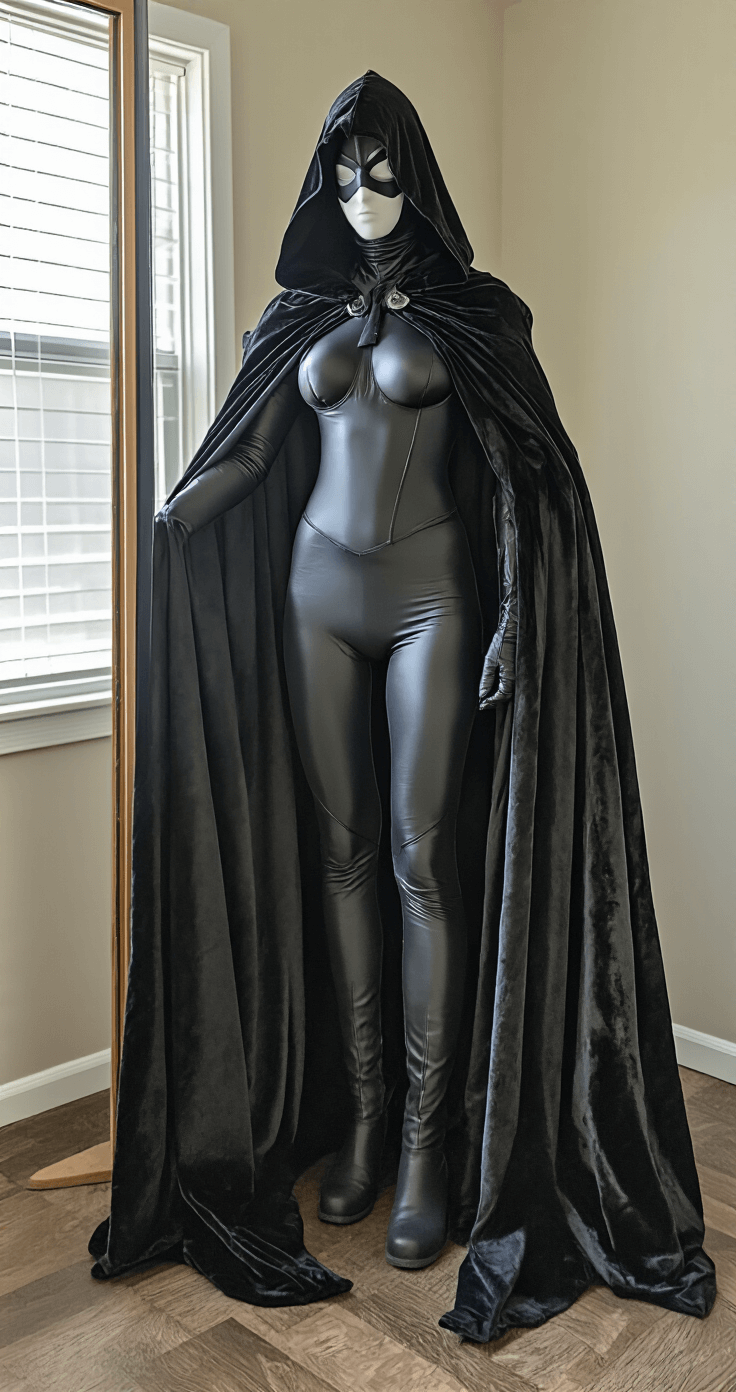
The Cape: Making Magic Happen
This is where Raven’s look really comes alive. You’ll want to grab some Dark Blue Velvet Fabric – about 3-4 yards depending on your height. Here’s what I’ve learned works best:
- Use a half-circle pattern
- Add darts at the shoulders (game-changer for how it sits!)
- Don’t skip the hood lining – it’s worth the extra effort
The Accessories That Make It Pop
The belt and gems are what make people go “Wow, that’s Raven!” Here’s my secret weapon: Red Acrylic Gems combined with gold settings look amazing and won’t break the bank.
- Space the gems evenly
- Use jump rings to connect pieces
- Make sure it’s secure but comfortable
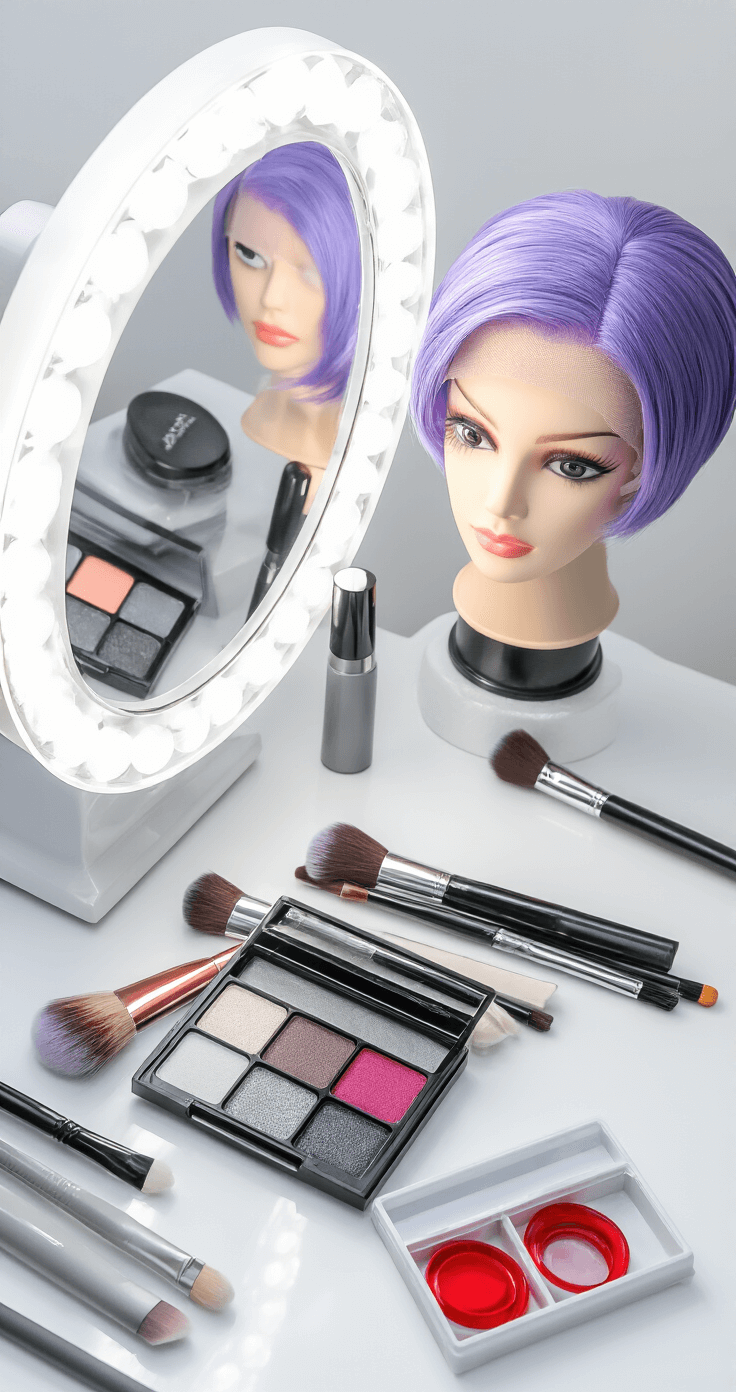
Makeup and Final Touches
Here’s where it gets fun! You’ll need:
- Gray or white face makeup
- Purple wig (short, layered style)
- Red contacts (optional but awesome)
Common Mistakes to Avoid
I’ve seen these happen way too often:
- Skipping the hood structure (it’ll flop around)
- Using cheap fabric that looks flat in photos
- Forgetting to test makeup before the big day
Time and Effort
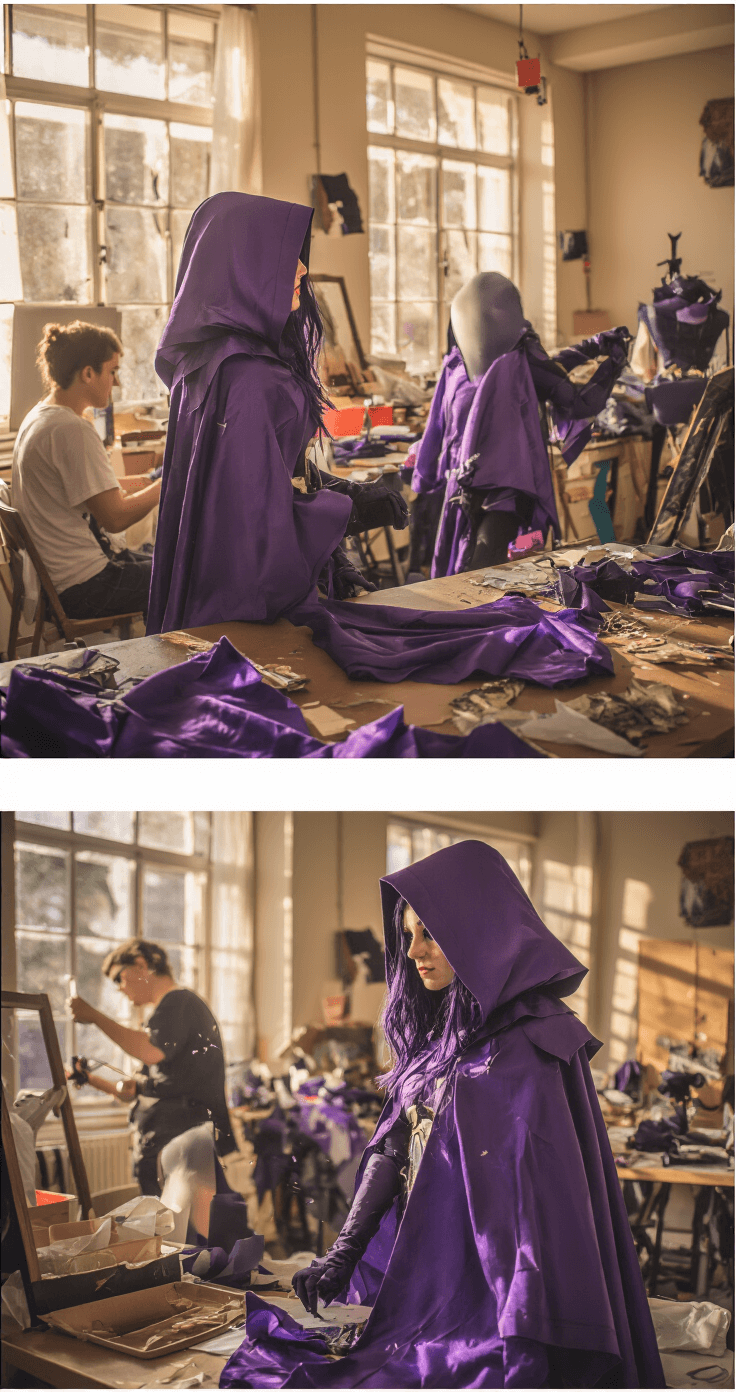
Real talk – this costume takes about 2 weeks if you’re working on it regularly. But don’t rush! Take your time with the details – they’re what makes your cosplay stand out.
Remember, cosplay is about having fun and bringing characters to life. Your Raven might not look exactly like someone else’s, and that’s totally okay! Each version is unique, just like each cosplayer.
Got questions about your Raven cosplay? Drop them in the comments below – I love helping fellow cosplayers bring their visions to life!

