Nina the Killer Cosplay: Your Complete Guide to Nailing This Creepypasta Look
Nina the Killer Cosplay: Your Complete Guide to Nailing This Creepypasta Look
Contents
- Nina the Killer Cosplay: Your Complete Guide to Nailing This Creepypasta Look
- Why Nina the Killer Cosplay Is Taking Over Right Now
- Getting Your Nina the Killer Outfit Right
- The Essential Pieces You Can’t Skip
- The Hair and Accessories Game
- Mastering the Chelsea Smile Makeup
- What You’ll Actually Need
- Step-by-Step Chelsea Smile Tutorial
- Pro Tips for SFX Success
- Putting Together Your Photo Shoot
- Location Ideas That Actually Work
- Lighting That Makes or Breaks Your Photos
- Poses That Capture Nina’s Personality
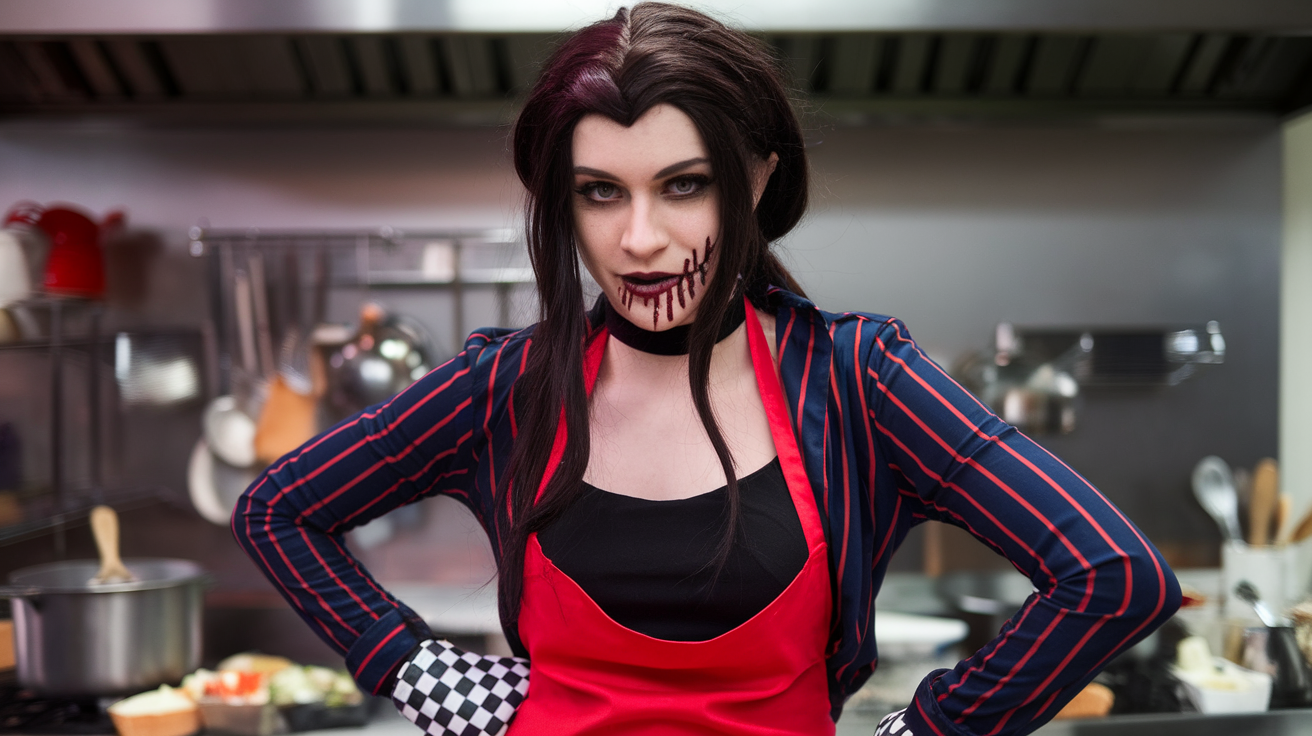
Nina the Killer cosplay has me absolutely obsessed right now, and I’m betting you’re here because you want to dive into this iconic creepypasta character too.
Trust me, I get it.
When I first saw Nina Hopkins with her signature Chelsea smile and that killer fuchsia hoodie, I knew I had to recreate this look.
But here’s the thing – most tutorials online either skip the important details or make it way too complicated.
I’ve spent months perfecting this cosplay, making mistakes so you don’t have to.
And honestly? Some of my first attempts were pretty rough.
But after tons of practice and probably too much fake blood, I’ve figured out exactly what works and what doesn’t.
Let me walk you through everything you need to know to create an authentic Nina the Killer cosplay that’ll actually impress people.
Why Nina the Killer Cosplay Is Taking Over Right Now
Look, creepypasta characters have always been popular, but Nina’s got something special going on.
She’s not just another horror character – she’s got this perfect mix of cute and terrifying that really speaks to Gen Z.
Plus, her outfit is actually wearable outside of conventions if you skip the SFX makeup.
I’ve noticed way more Nina cosplayers at recent cons, and honestly, most of them are missing key details that would make their cosplay pop.
That’s where this guide comes in.
Getting Your Nina the Killer Outfit Right
The Essential Pieces You Can’t Skip
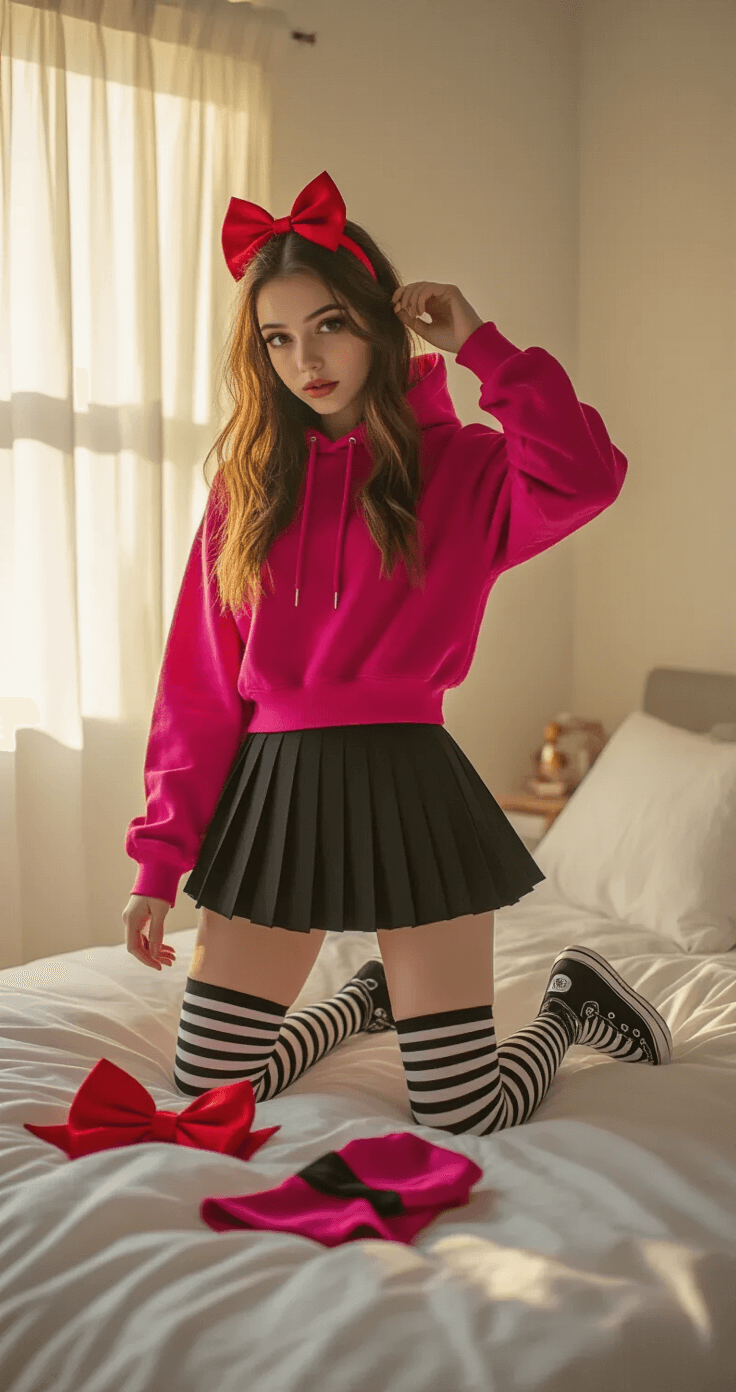
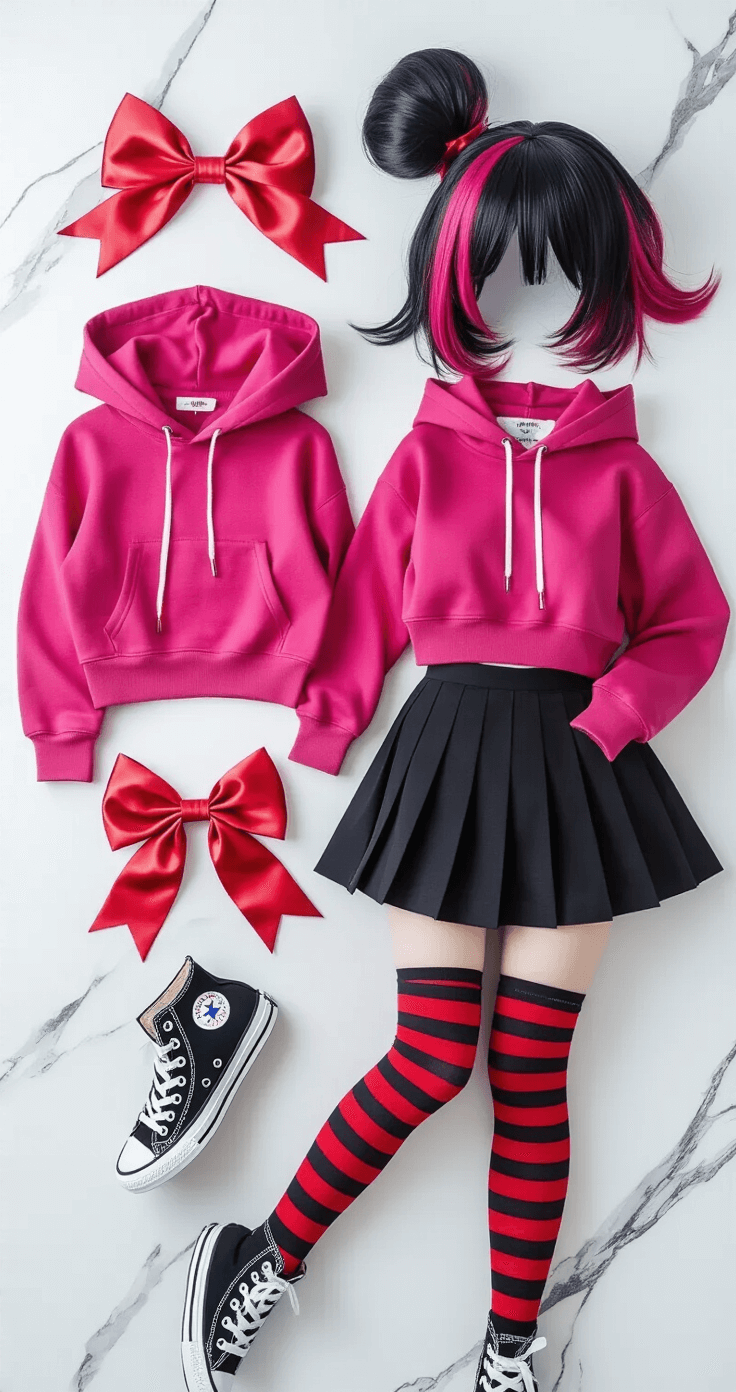
The Fuchsia Hoodie
This is literally the most important piece of your entire cosplay. I’m talking deep pink, almost magenta – not baby pink or hot pink. The color needs to be rich and saturated.
Deep fuchsia hoodie options on Amazon usually give you the best color match.
I learned this the hard way when my first hoodie looked more like bubblegum than Nina’s signature color.
Black Pleated Mini Skirt
Keep it simple here. A basic black pleated mini works perfectly – you don’t need anything fancy or expensive. Just make sure it’s short enough to show off those thigh-highs.
Black and Red Striped Thigh-High Socks
These are what really sell the whole look. The stripes need to be bold and even. Avoid anything too thin or faded – you want strong contrast.
Converse Shoes
Classic black or red Converse work best. I prefer black because they don’t compete with the rest of the outfit.
The Hair and Accessories Game
The Wig Situation
Unless you’re willing to dye your hair jet black with magenta streaks, you’re gonna need a good wig.
Black cosplay wig is your starting point.
You can add the magenta streaks with temporary hair chalk or clip-in extensions.
Red Hair Bow
This little detail makes such a huge difference. Get a bright red satin bow – it needs to stand out against the black hair.
The bow should be big enough to notice but not so huge it looks cartoonish.
Mastering the Chelsea Smile Makeup
Okay, this is where things get real.
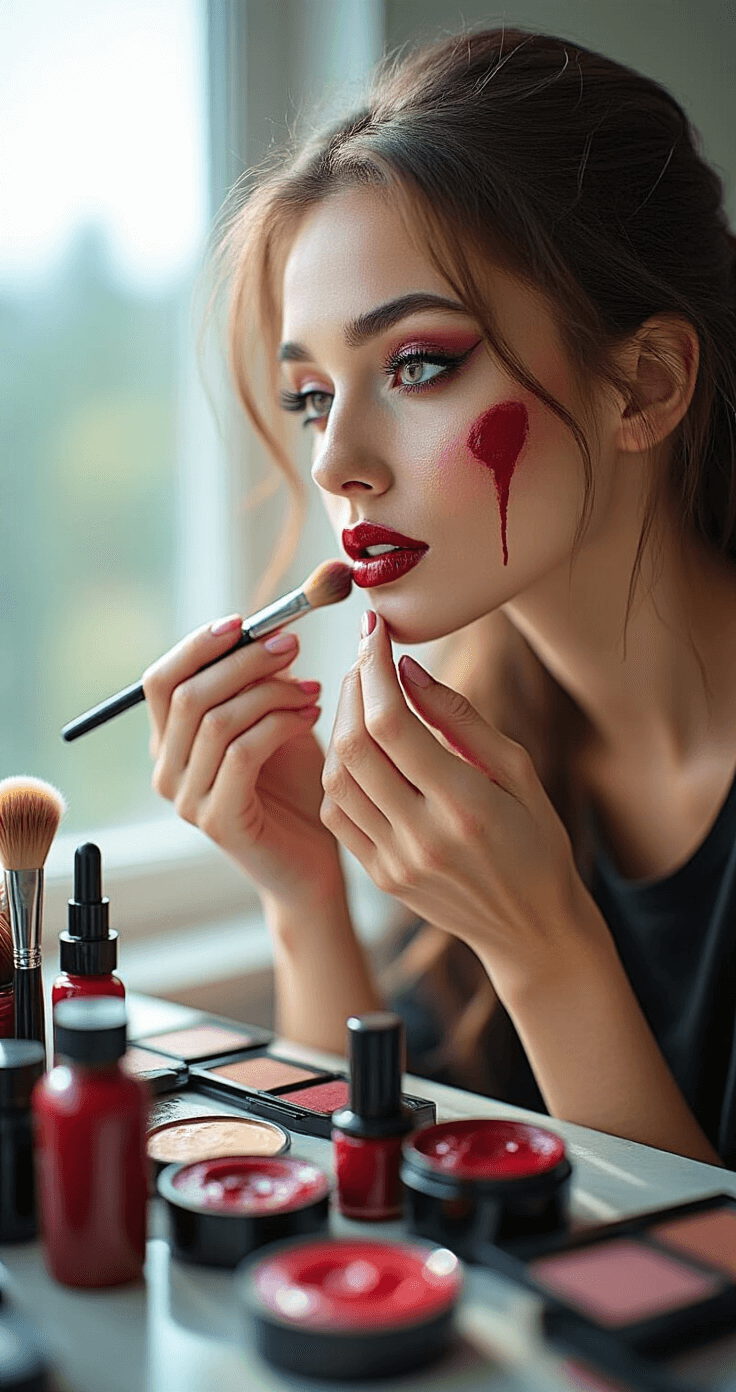
The Chelsea smile is Nina’s most recognizable feature, and it’s also the trickiest part of the whole cosplay.
What You’ll Actually Need
- Liquid latex for texture
- Red cream makeup or lipstick
- Black eyeliner (waterproof)
- Fake blood (the good stuff, not dollar store)
- Makeup sponges
- Setting powder
Step-by-Step Chelsea Smile Tutorial
Step 1: Prep Your Skin
Start with clean, dry skin. Apply a thin layer of liquid latex from the corners of your mouth extending toward your ears.
Don’t go crazy with the latex – you want texture, not thick globs.
Step 2: Create the Cut Lines
Once the latex is tacky (not wet), use black eyeliner to draw the smile lines. Make them slightly uneven – real cuts aren’t perfectly symmetrical.
Step 3: Add the Color
Fill in the “cut” areas with red makeup. Start light and build up – you can always add more.
Step 4: The Blood Effect
This is where most people mess up. Less is more with fake blood. Dab it on with a sponge, don’t just squeeze it out of the bottle.
Step 5: Set Everything
Dust lightly with setting powder to prevent smudging.
Pro Tips for SFX Success
The biggest mistake I see? People make the smile too big or too symmetrical.
Nina’s Chelsea smile should look disturbing but not theatrical.
Study reference photos and practice before your photoshoot.
Also, invest in quality fake blood. The cheap stuff looks orange under lights.
Putting Together Your Photo Shoot
Location Ideas That Actually Work
Indoor Studio Setup
A simple white or gray backdrop works great. You want the focus on your cosplay, not busy backgrounds.
Urban/Street Photography
Abandoned buildings or industrial areas give that creepy vibe. Just be safe and get permission if needed.
Your Own Room
Honestly, some of my best Nina shots were taken in my bedroom with good lighting.
Lighting That Makes or Breaks Your Photos
For SFX Details
You need even, bright lighting to show off your makeup work. Ring lights are perfect for this.
For Mood Shots
Dramatic side lighting creates that horror atmosphere. Play with shadows on half your face.
Poses That Capture Nina’s Personality
- Direct eye contact
