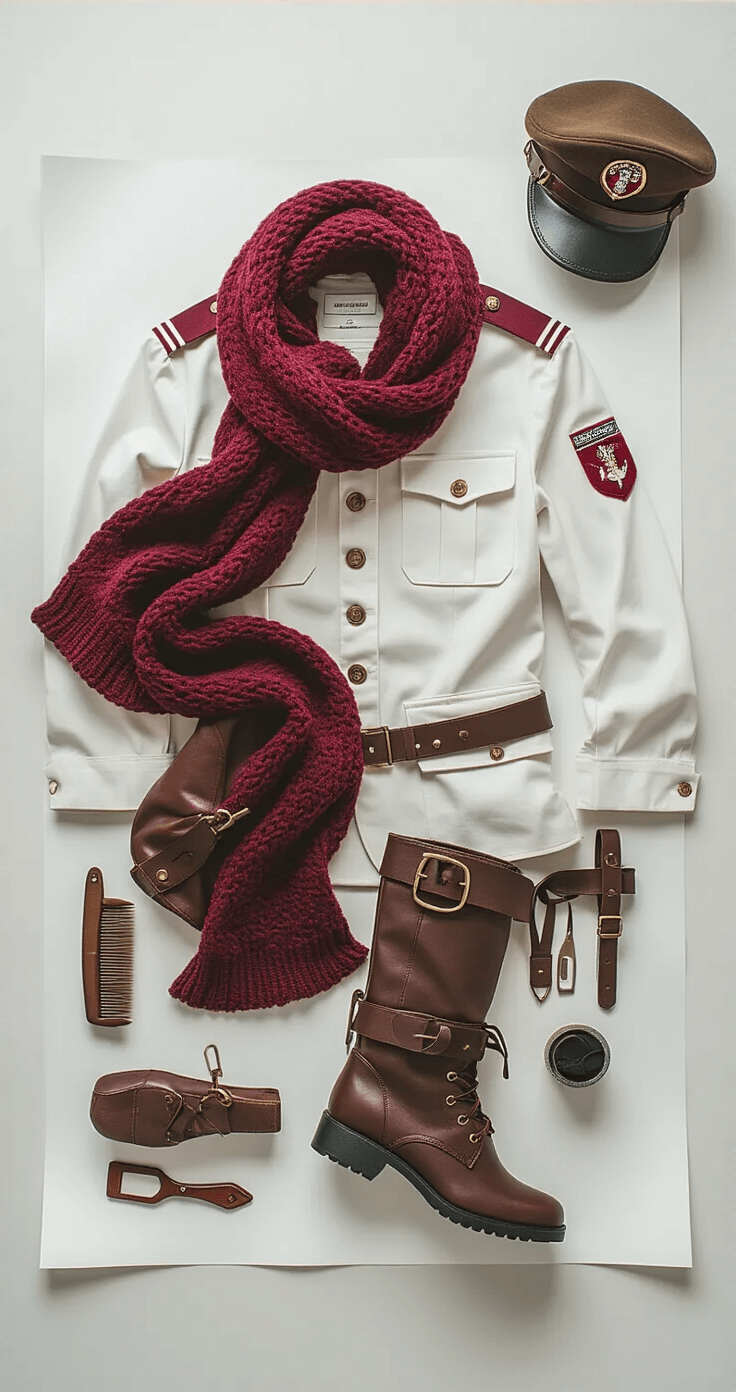
The Ultimate Mikasa Ackerman Cosplay
The Ultimate Mikasa Ackerman Cosplay Guide: How I Mastered Attack on Titan’s Most Iconic Look
Contents
- The Ultimate Mikasa Ackerman Cosplay Guide: How I Mastered Attack on Titan’s Most Iconic Look
- Why Mikasa’s Look Works So Well for Beginners
- Getting Started: What You Actually Need (And What You Don’t)
- The Absolute Essentials
- The “Nice to Have” Stuff
- Building Your Look: Two Different Approaches
- Option 1: The “Closet Cosplay” Method (Under $30)
- Option 2: The “Full Kit” Approach ($50-200)
- Wig Styling: Getting Mikasa’s Hair Right
- The Red Scarf: Your Most Important Accessory
Mikasa Ackerman cosplay has been my absolute obsession for the past year, and trust me – I’ve made every mistake in the book.
Look, I’ll be honest with you. My first attempt at recreating Mikasa’s look was a complete disaster. The scarf was too bright, my wig looked like I stuck my finger in an electrical socket, and don’t even get me started on that “harness” I made from random belts I found in my closet.
But here’s the thing about cosplay – it’s supposed to be fun, messy, and totally yours. After countless tries, convention visits, and way too much money spent on Amazon, I finally cracked the code on nailing Mikasa’s signature Survey Corps look.
And now I’m gonna share everything with you. No fluff, no fancy jargon – just real talk about what works and what doesn’t when you’re trying to channel your inner badass titan-slayer.
Why Mikasa’s Look Works So Well for Beginners
Let me tell you something – Mikasa Ackerman is probably one of the most forgiving characters to cosplay. Her outfit isn’t crazy complicated like some anime characters with their seventeen different accessories and color-changing hair.
The core elements are pretty straightforward:
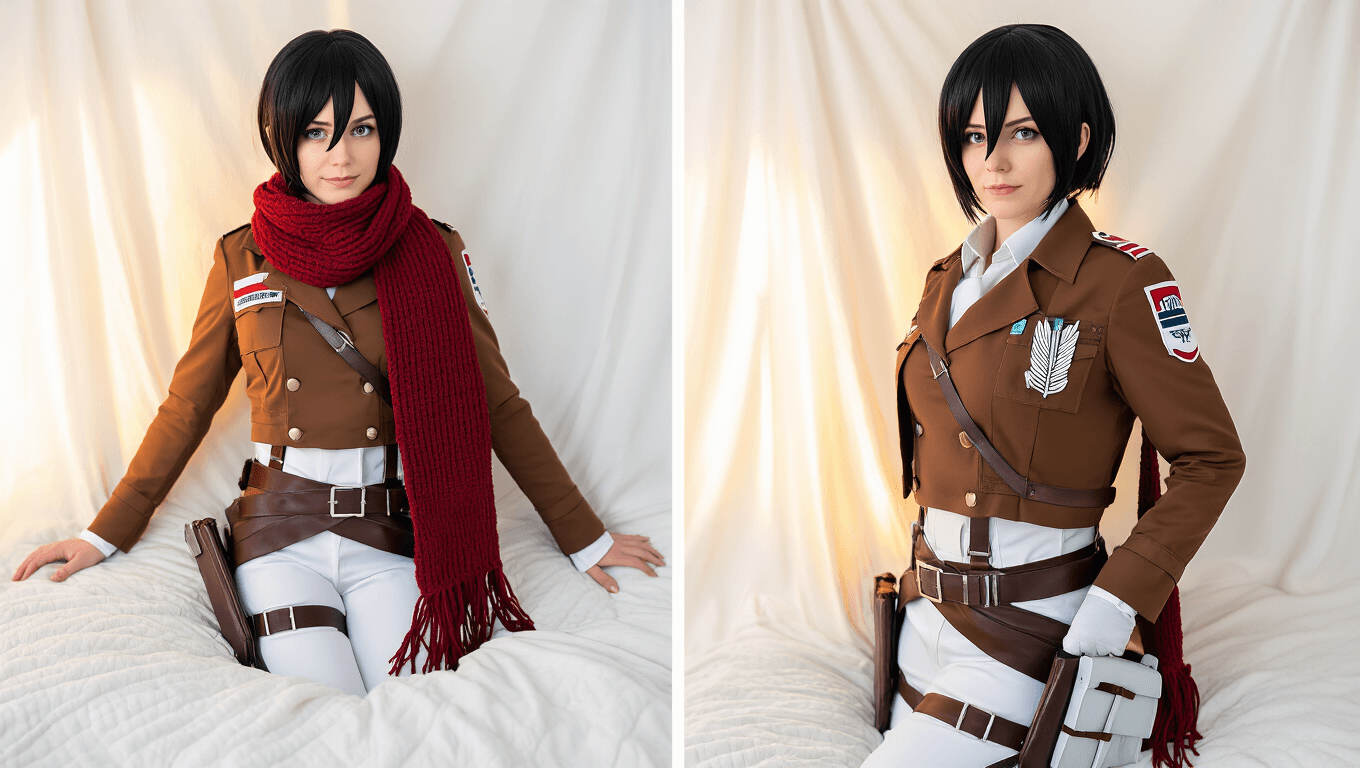
- Clean military-style uniform (white base with brown jacket)
- That iconic red scarf (seriously, this makes or breaks the whole look)
- Short black hair with those perfect side-swept bangs
- Harness system that looks way more complicated than it actually is
What I love most about her design is how practical it is. You can wear this to a convention and actually move around comfortably. No giant wings, no impossible heels, no costume pieces that fall apart when you sit down.
The best part? You probably already own half of what you need sitting in your closet right now.
Getting Started: What You Actually Need (And What You Don’t)
Time commitment: 1-4 hours depending on how detailed you wanna get
Budget range: Anywhere from $0 to $200+ (I’ll show you both approaches)
The Absolute Essentials
Here’s what you cannot skip if you want people to recognize you as Mikasa:
The Base Uniform:
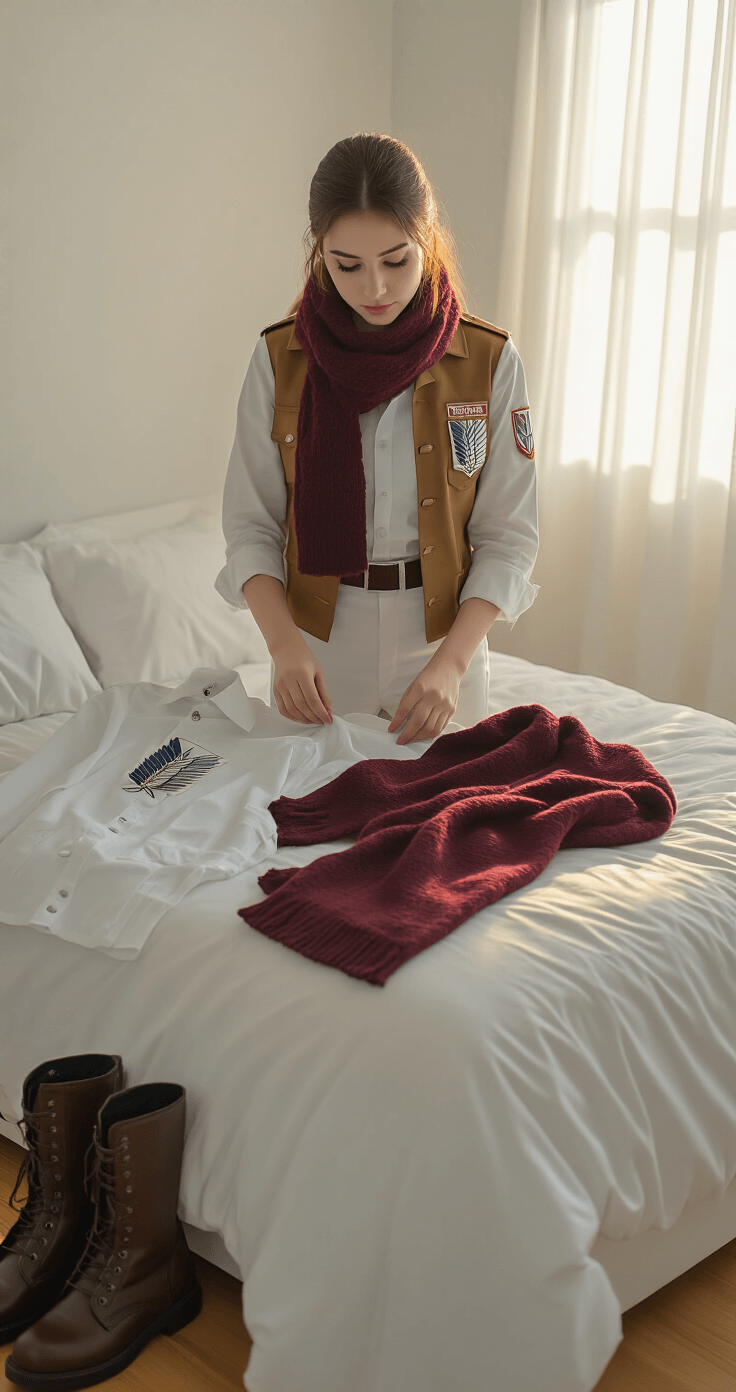
- White button-up shirt (any basic one works)
- White pants or tights (leggings are totally fine)
- Brown or khaki military-style jacket
- Survey Corps insignia patches
The Signature Pieces:
- Short black cosplay wig
- Red scarf (this is make-or-break, people)
- Brown boots or combat boots
The “Nice to Have” Stuff
Harness System:
Look, the 3DM gear harness looks super cool, but it’s not essential for a recognizable Mikasa cosplay. If you’re just starting out, skip this and add it later. When you’re ready, you can make a simple version with brown belts or buy a replica online.
Props:
Swords, gear boxes, all that fancy stuff – save it for when you’re more experienced. Trust me on this one.
Building Your Look: Two Different Approaches
Option 1: The “Closet Cosplay” Method (Under $30)
This is where I started, and honestly, some of my favorite photos came from this super simple approach.
What you’re shopping for:
- Any red scarf you can find (thrift stores are gold mines for this)
- Brown or tan jacket (military surplus stores, thrift shops)
- White clothing you already own
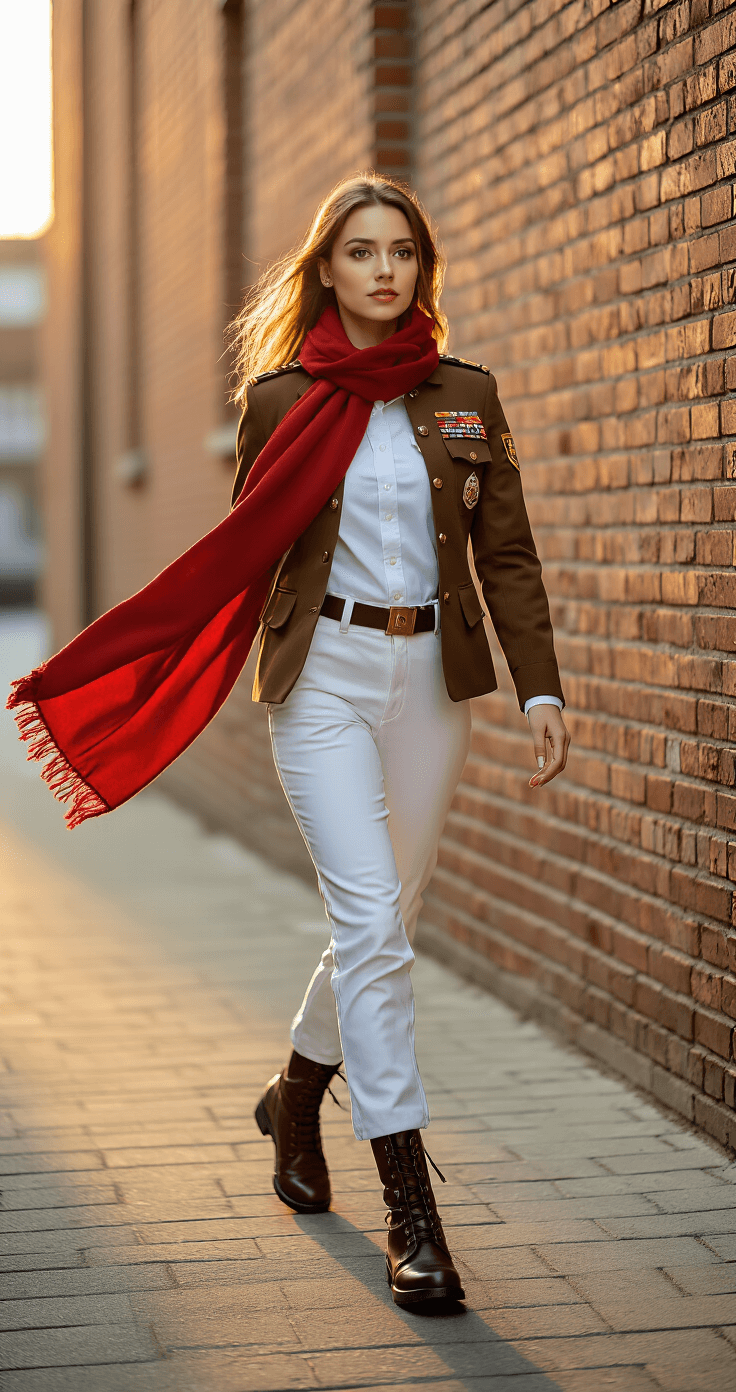
The magic trick: It’s all about the scarf and the attitude. Seriously, wrap that red scarf around your neck, style your hair (or throw on a cheap wig), and nail Mikasa’s determined expression. People will totally get it.
Option 2: The “Full Kit” Approach ($50-200)
When you’re ready to level up, this is where you invest in the proper pieces.
Shopping list:
- Complete Survey Corps uniform set
- Quality wig that won’t look like plastic
- Proper military-style boots
- Harness system
- Accurate patches and emblems
I spent about $120 on my full setup, and it was totally worth it for convention season.
Wig Styling: Getting Mikasa’s Hair Right
Oh boy, this is where I struggled the most at first. Mikasa’s hair looks simple, but there’s actually a specific way it should sit.
The key details:
- Short, just past chin length
- Side-swept bangs that frame her face
- Slightly layered, not blunt cut
- Always black (no highlights, no fancy colors)
My wig styling process:
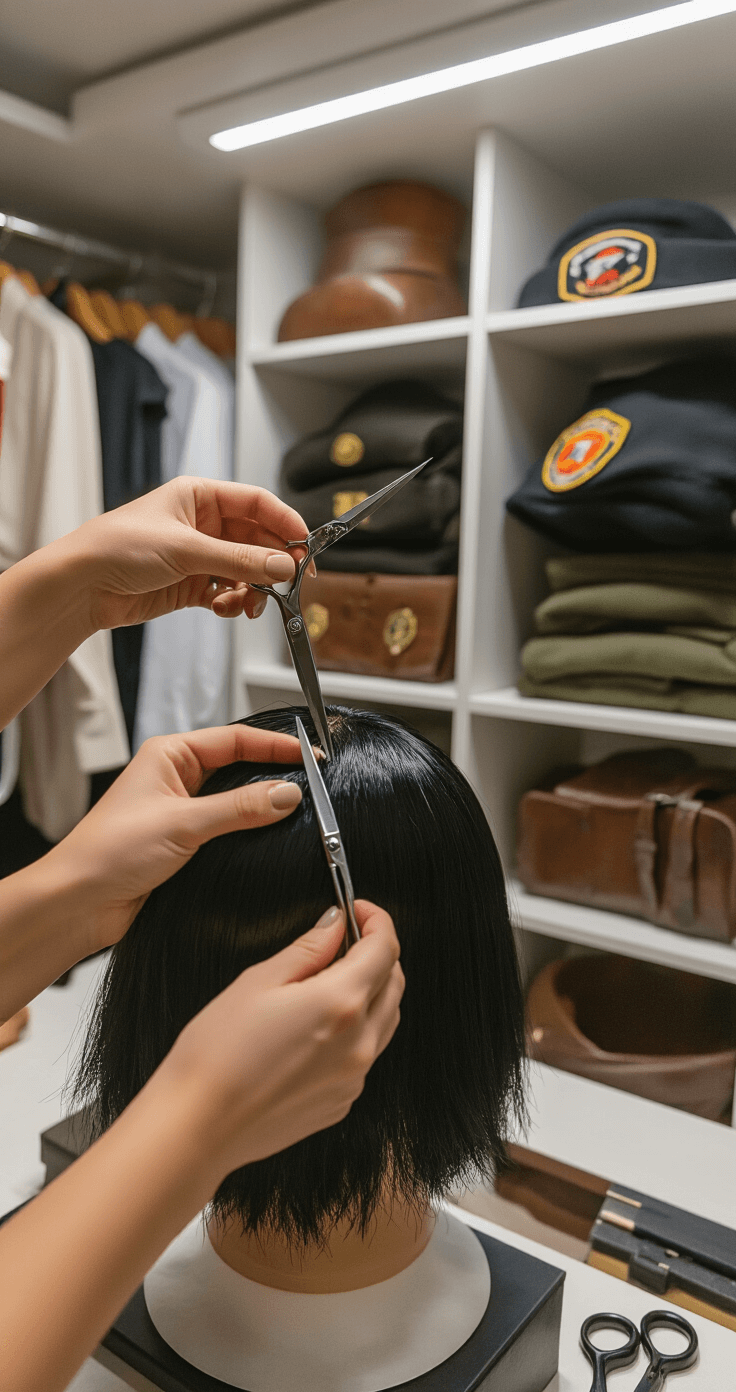
- Buy a wig that’s slightly longer than you need
- Trim it gradually (you can’t add hair back, trust me)
- Use a flat iron on low heat to get those smooth bangs
- Secure with bobby pins that match the wig color
Pro tip: If you’re nervous about cutting a wig, practice on a cheap one first. I ruined two wigs learning this lesson the hard way.
The Red Scarf: Your Most Important Accessory
I cannot stress this enough – the scarf is everything. You could be wearing jeans and a t-shirt, but throw on that red scarf the right way, and people will still recognize the character.
What to look for in a scarf:
- Deep red color (not bright cherry red)
- Long enough to wrap and have flowing ends
- Knit or woven texture (avoid silky materials)
- Wide enough to make a statement
How to wear it: Most people just throw it around their neck, but

