FAIRY BIRTHDAY CAKE: MAGICAL WHIMSY ON A PLATE
Fairy Birthday Cake: Magical Whimsy on a Plate
Contents
Key Info:
Prep Time: 45-60 minutes
Cook Time: 30-40 minutes
Total Time: 2-2.5 hours
Servings: 12-16
Difficulty: Moderate
Dietary Tags: Customizable (Vegetarian option available)
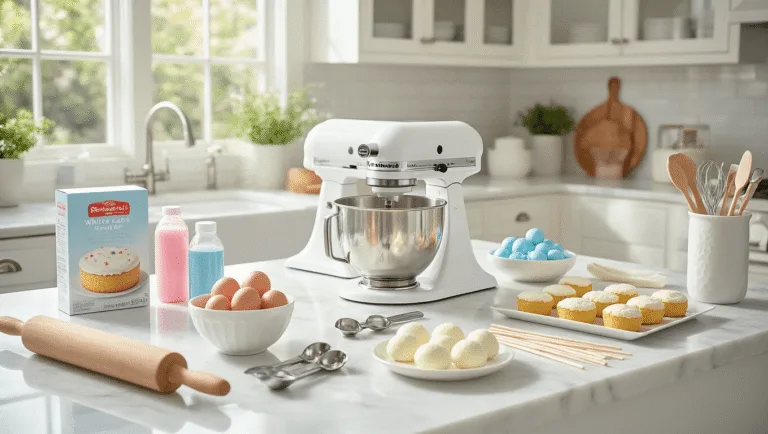
Equipment Needed:
– Electric mixer
– Round cake pan
– Bowl-shaped baking pan
– Rolling pin
– Fondant cutters
– Paintbrush
– Spatulas
Ingredients:
Cake Base:
– 2 cake mixes (vanilla/chocolate)
– Butter for greasing
– Flour for dusting
Frosting:
– Vanilla buttercream
– Icing sugar
Fondant Decorations:
– Red/pink fondant (mushroom cap)
– White fondant (spots/flowers)
– Green fondant (grass/vines)
Optional Extras:
– Edible glitter
– Sugar pearls
– Fairy figurines
Magical Method:
1. Prep Your Magical Space
• Clean workspace
• Gather ALL ingredients
• Preheat oven to specified temperature
• Grease and flour cake pans
2. Create Cake Foundations
• Mix cake batter thoroughly
• Pour into round and dome-shaped pans
• Bake until toothpick comes out clean (30-40 minutes)
• Cool completely
3. Shape Your Fairy Wonderland
• Level cake tops
• Position round cake as base
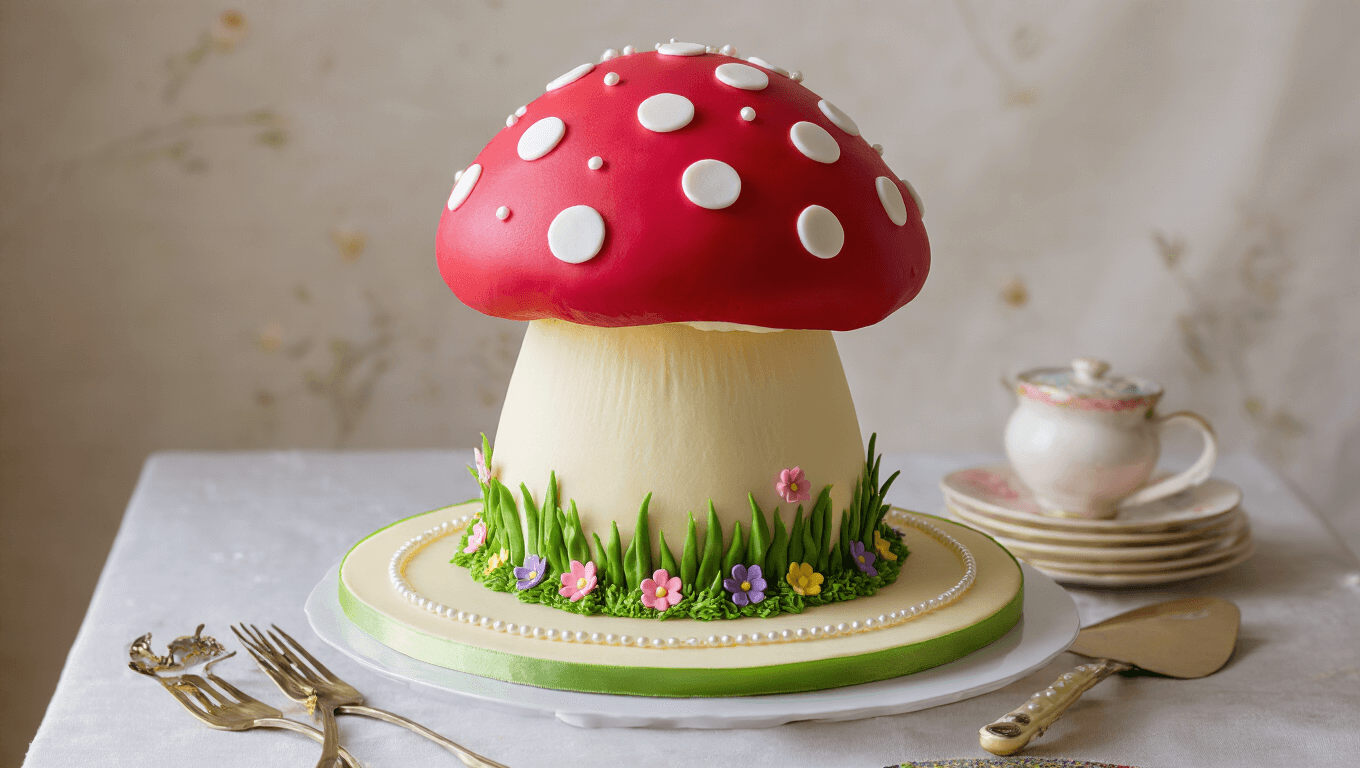
• Place dome cake as toadstool cap
• Secure with buttercream
4. Fondant Magic
• Crumb coat cake with buttercream
• Roll fondant to 1 cm thickness
• Cover dome with pink/red fondant
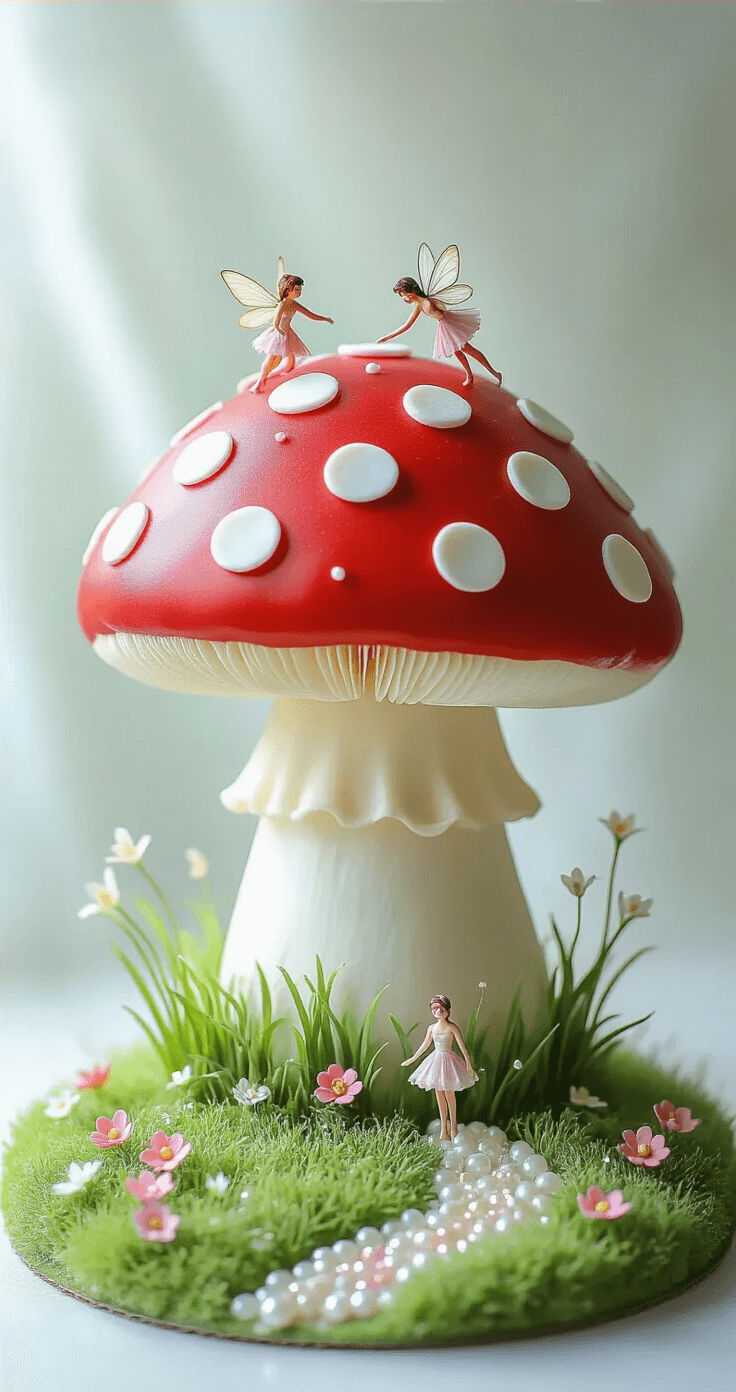
• Add white polka dots
• Create green “grass” base
5. Enchanted Finishing Touches
• Add fondant flowers
• Sprinkle edible glitter
• Position fairy figurines
• Add sugar pearl details
Pro Tips:
– Work quickly with fondant
– Keep cakes cool before decorating
– Use damp brush to attach decorations
– Chill cake between steps for stability
Storage Wisdom:
– Cover loosely
– Store at room temperature
– Best consumed within 2 days
– Avoid refrigerating decorated cake
Dietary Adaptations:
– Gluten-free: Use alternative flour blends
– Vegan: Plant-based butter/egg substitutes
– Dairy-free: Non-dairy buttercream
Common Mistakes to Dodge:
– Don’t rush cooling process
– Avoid melted buttercream
– Prevent fondant cracking
– Ensure even cake layers
Theme Variations:
– Woodland fairy
– Pastel enchantment
– Jewel-toned magic
– Minimalist fairy garden
Final Fairy Flourish:
This isn’t just a cake—it’s a portal to childhood wonder, crafted with love and a sprinkle of imagination. Every slice tells a story, every decoration whispers magic.
Bon appétit, fairy cake creators! 🧚♀️🍰✨

