Princess Birthday Cake: The Ultimate Royal Dessert Guide
Quick Facts
Contents
Prep Time: 45-60 minutes
Cook Time: 25-35 minutes
Total Time: 2-3 hours
Servings: 12-24
Difficulty: Intermediate
Cost: $20-$60
Dietary Considerations
- Contains: Eggs, Dairy, Wheat
- Adaptable: Vegetarian, Gluten-Free, Dairy-Free options available
Essential Equipment
Must-Have Tools
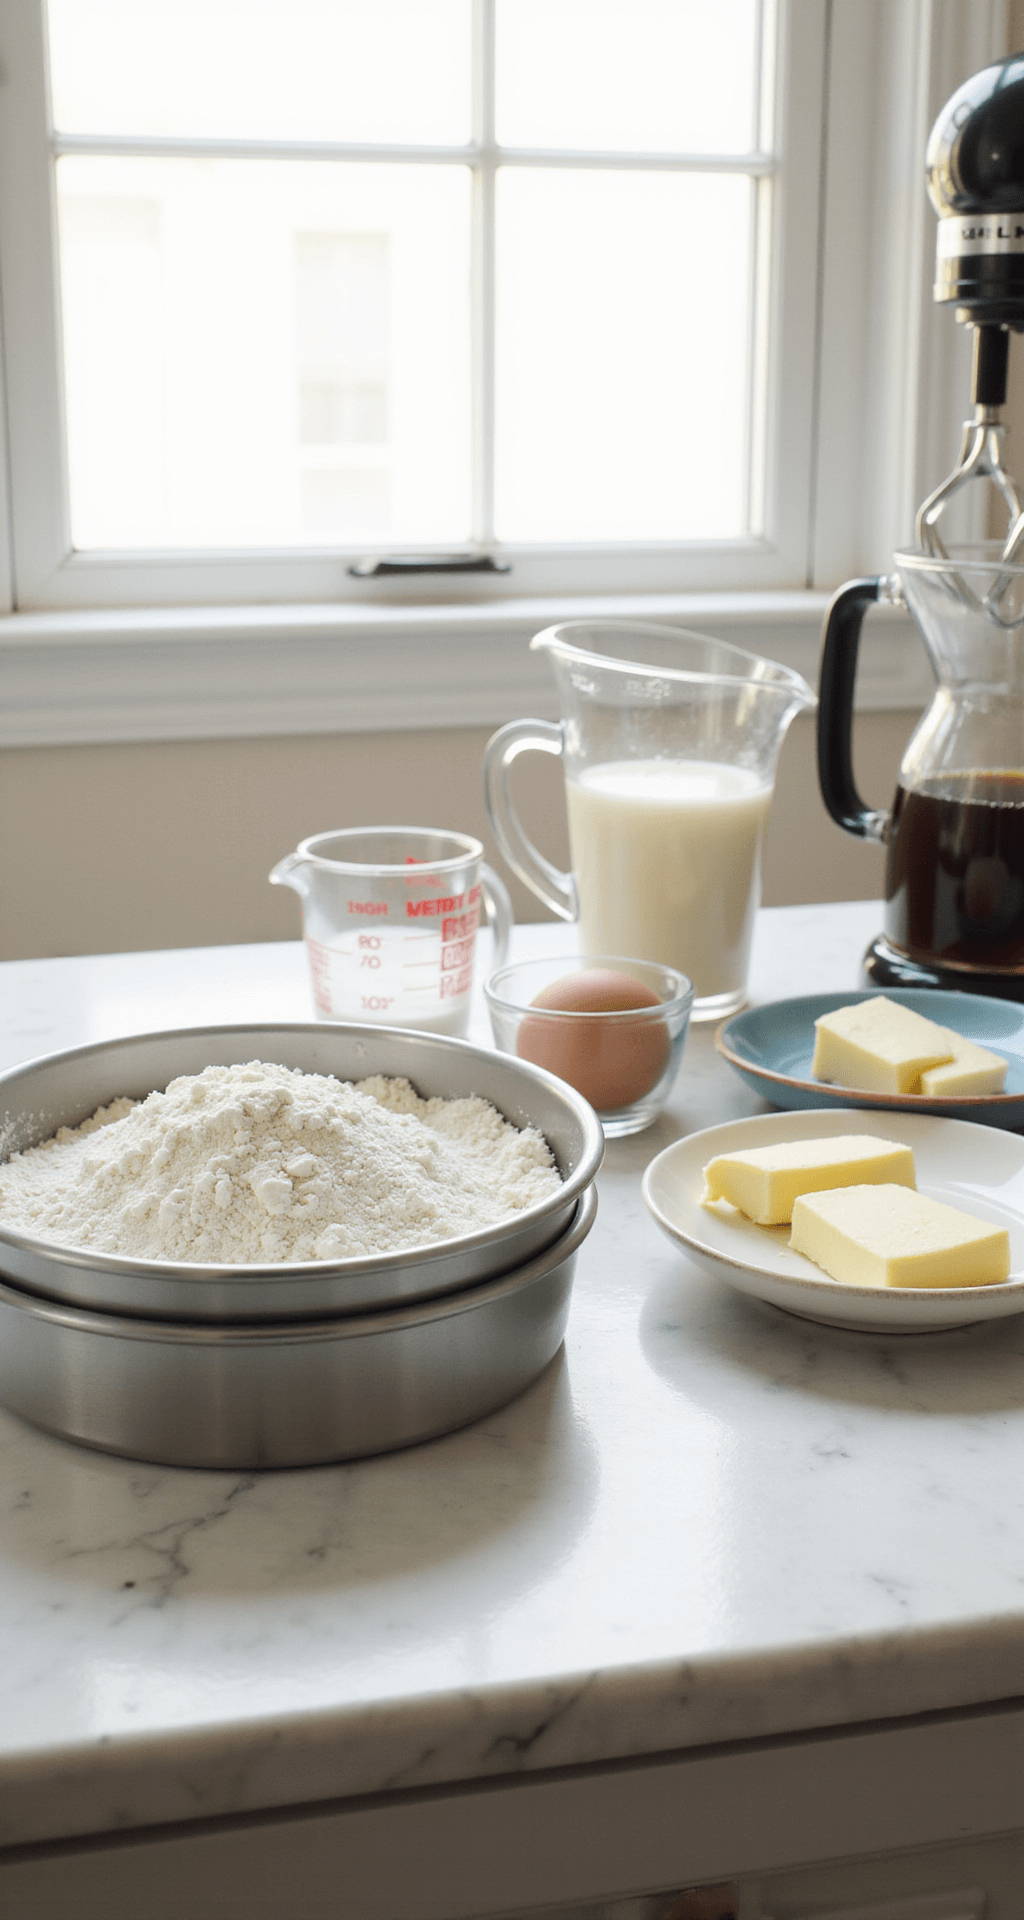
- 8-inch round cake pans
- Oven
- Mixing bowls
- Serrated knife
- Offset spatula
- Cake turntable
- Piping bags and tips
Nice-to-Have Extras
- Dome-shaped bowl
- Stand mixer
- Edible decorations
Ingredients Breakdown
Cake Base
- 2 cups all-purpose flour
- 1 cup granulated sugar
- 4 large eggs
- 1 cup butter
- 1 cup milk
- Vanilla extract
Frosting & Decoration
- 4-6 cups buttercream
- 1-2 lbs fondant
- Edible glitter
- Sugar pearls
- Food coloring
Pro Baking Tips
Before You Start
- Prep is Key: Have all ingredients at room temperature
- Cooldown Matters: Let cakes cool completely before decorating
- Support is Crucial: Use dowels for stability if creating multiple layers
Step-by-Step Method
- Bake the Cake Layers
- Preheat oven to 350°F
- Mix dry ingredients
- Add wet ingredients
- Bake until golden (25-35 minutes)
- Cool completely
- Create the Princess Skirt
- Level cake layers
- Carve dome shape
- Crumb coat with thin frosting layer
- Chill for 15 minutes
- Decorate with Royal Flair
- Apply final frosting layer
- Insert clean doll pick
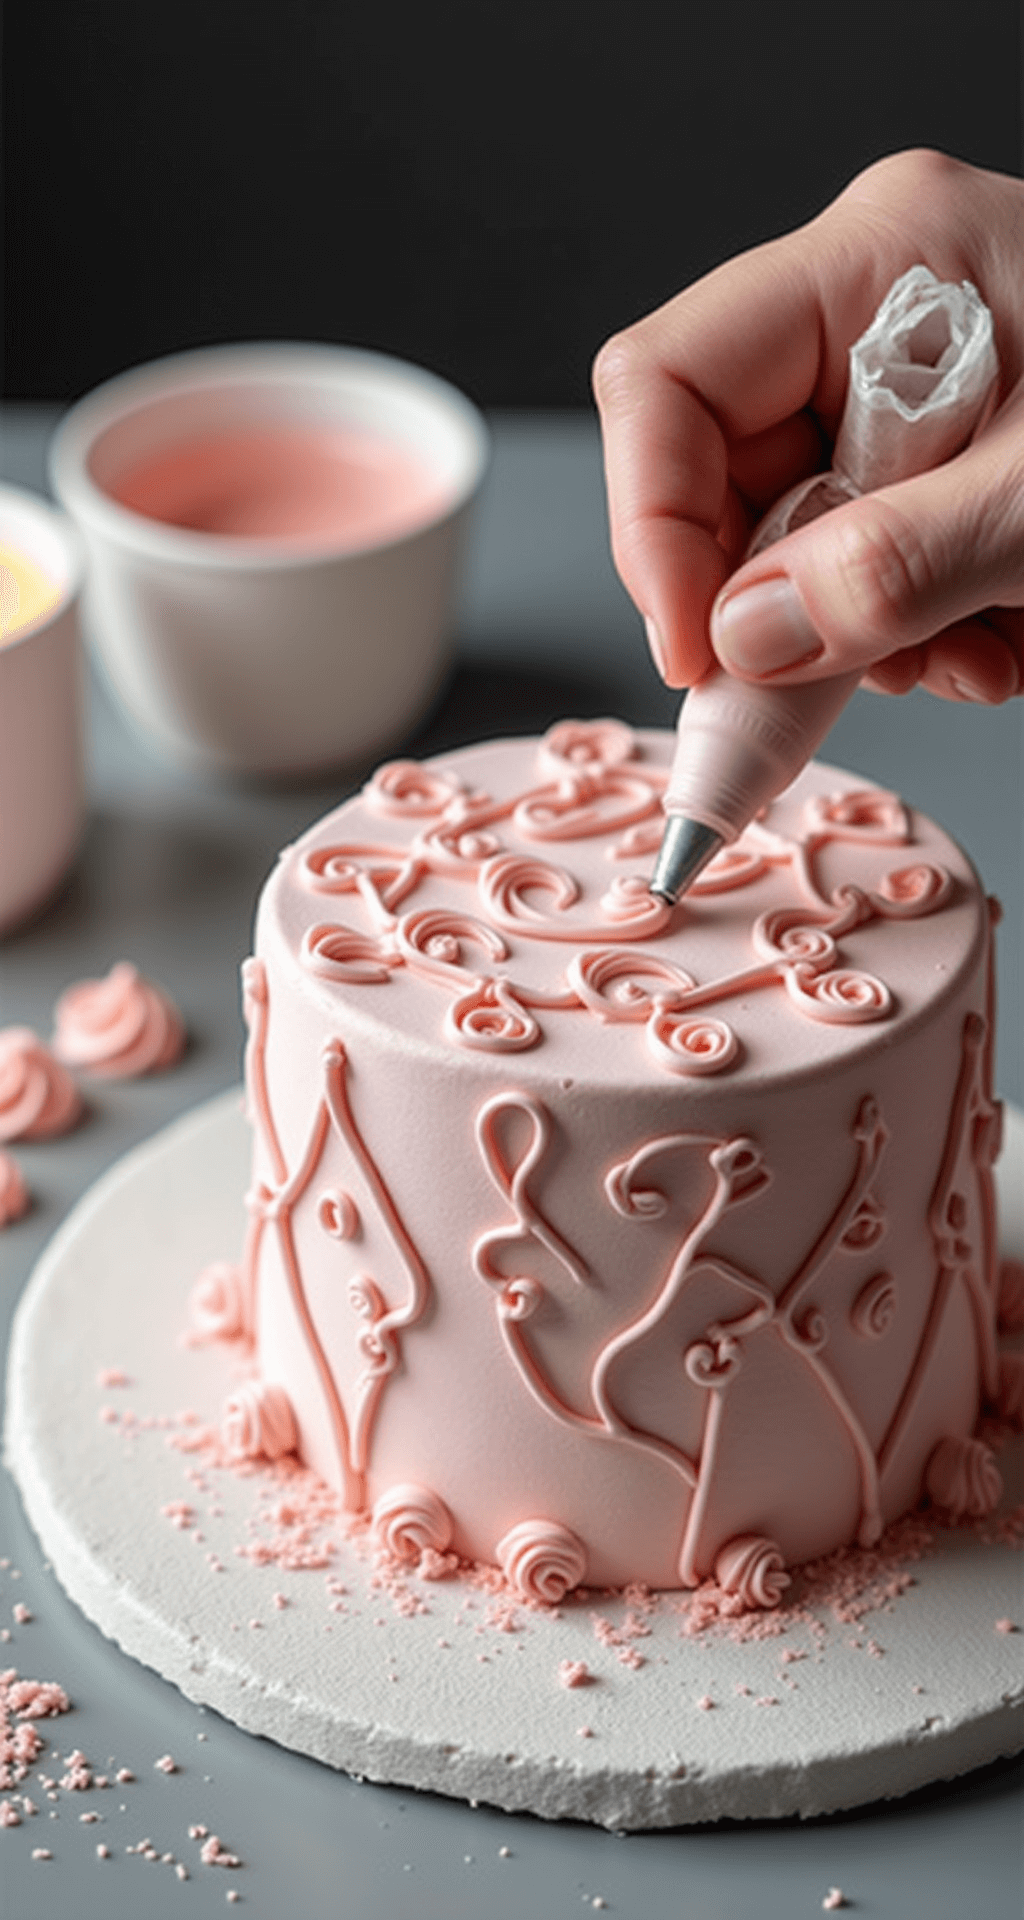
- Pipe decorative details
- Add edible embellishments
Troubleshooting Tricks
Common Challenges
- Melting Frosting: Keep cake cool
- Collapsed Skirt: Use proper support structures
- Bleeding Decorations: Avoid condensation
Creative Variations
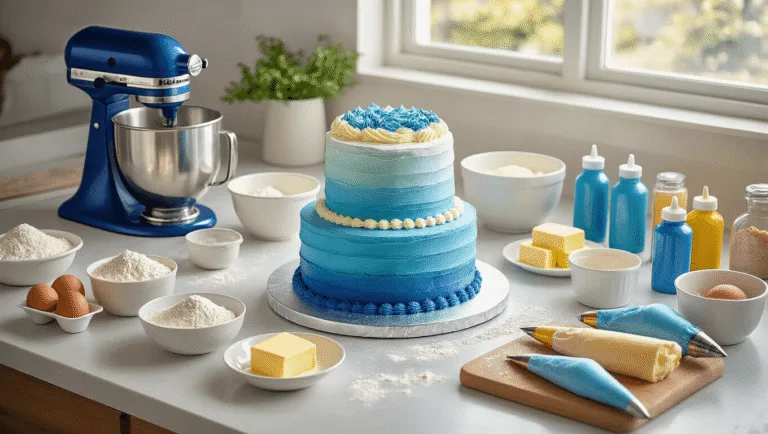
- Elsa-inspired blue and white theme
- Belle’s classic yellow dress
- Ariel’s sea-green color palette
- Cupcake tower alternatives
- Sheet cake options
Storage & Serving
- Refrigerate up to 3 days
- Store in airtight container
- Bring to room temperature before serving
Pro Decorator’s Secret
💡 Tip: Use edible glitter and pearl dust to add magical shimmer to your princess cake!
Dietary Modifications
- Gluten-Free: Use alternative flour blend
- Vegan: Substitute eggs and dairy
- Low-Sugar: Adjust sweeteners
Final Royal Touch
Creating a princess birthday cake is more than baking—it’s crafting a magical memory. Whether you’re channeling Disney royalty or creating a unique design, this guide ensures your cake will be the crown jewel of any celebration!
Keywords
princess birthday cake, Disney princess cake, birthday cake tutorial, princess cake decoration, kids birthday cake, royal cake design


